Project #3: The Guest Bath
BEFORE
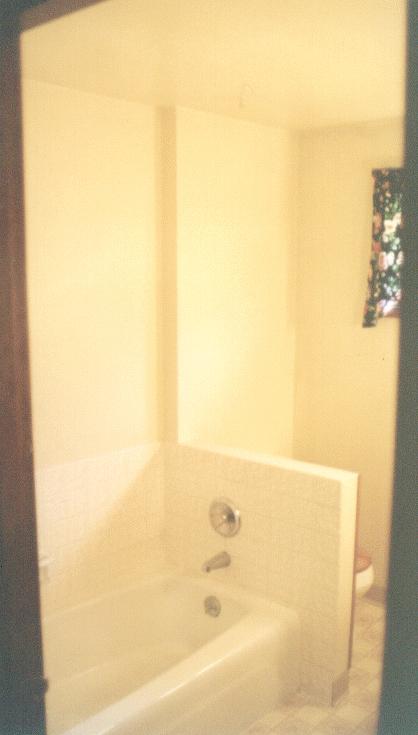
This is how the guest bathroom used to look. You'll notice the obvious lack of showerization. Bummer! Well, we'll just have to fix that... .
CUTTING HOLES
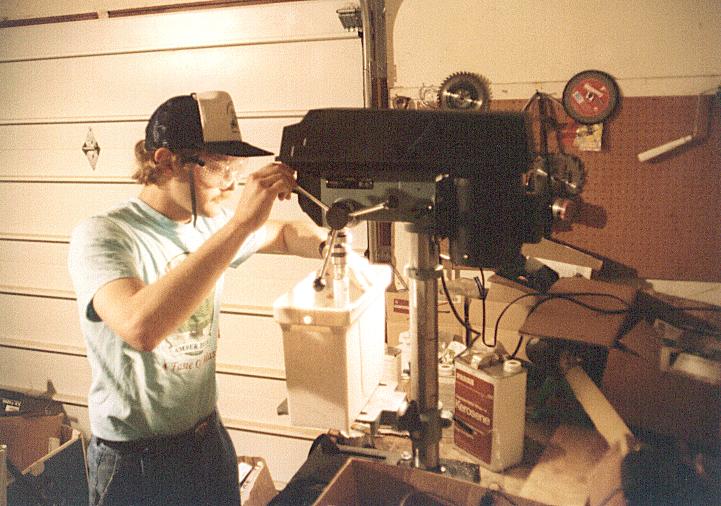
So I bought a drill press for a bit more than $150 and a carbide hole saw for $22. The beauty is that I get to keep the drill press.
All was not roses: I had to devise a scheme combining cooling and shock-conditioning to protect the glass. This is what I came up with: a plastic box filled with water, just large enough to hold one block. I used a spade bit first to drill a pilot hole that relieved the internal vacuum and allowed the block to fill with water, then just buzzed on through with the hole saw. It worked great!
Kids, note the safety goggles. There was I time when I thought I was The Flash, and that my everyday glasses were plenty. Then one day I managed to get a chip of mild steel embedded in my left cornea while running a lathe. If you enjoy operating power tools, consider whether it would be as much fun with your vision limited to one eye... .
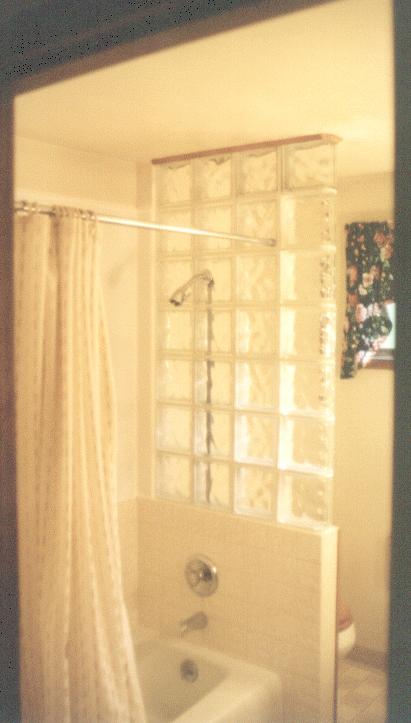
AFTER