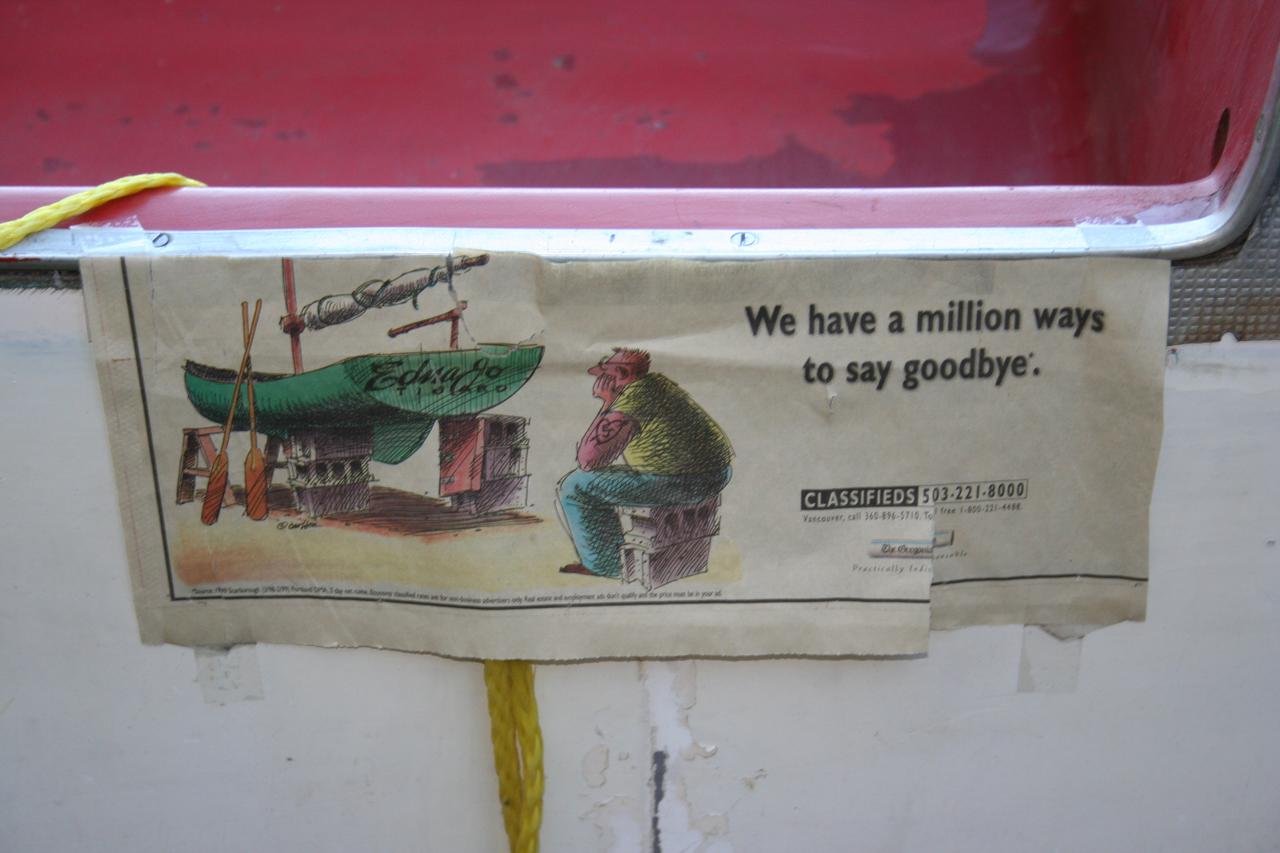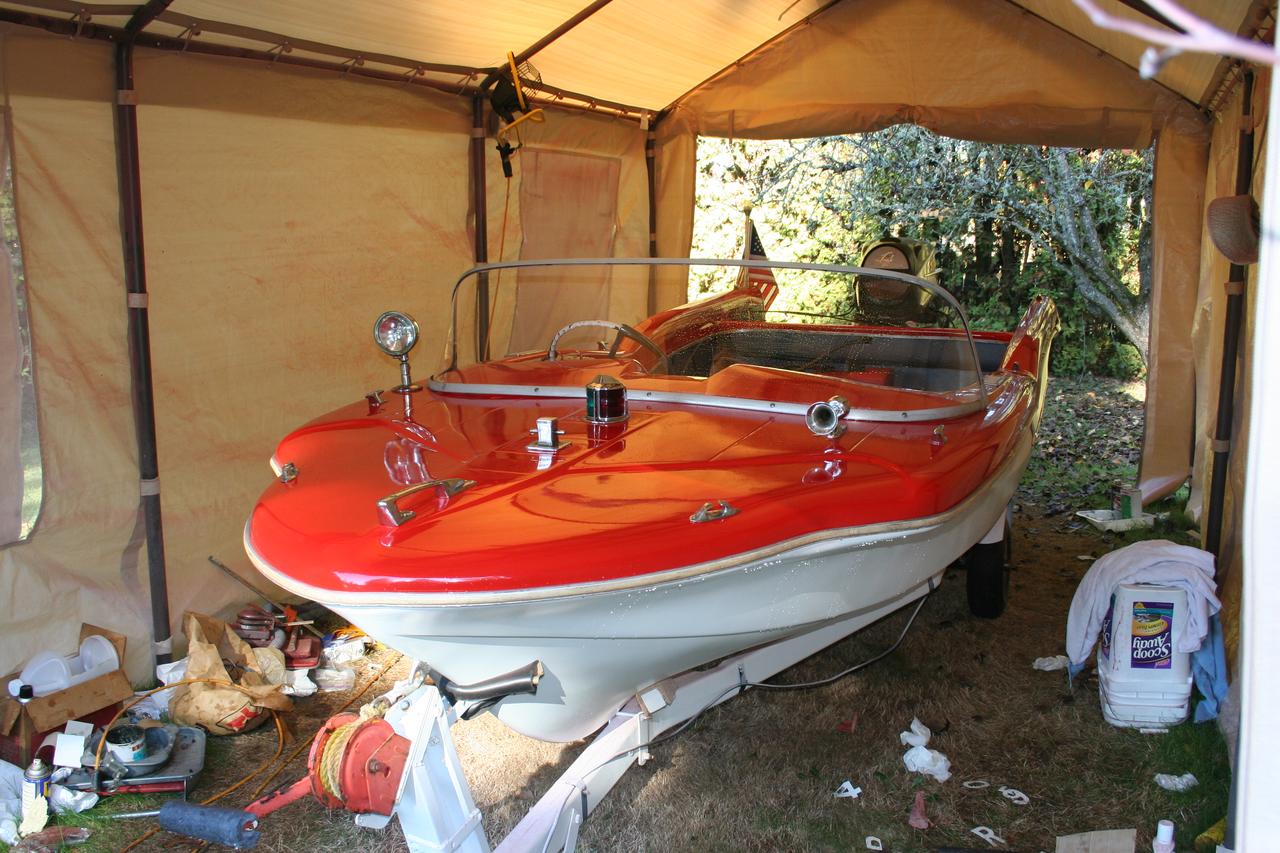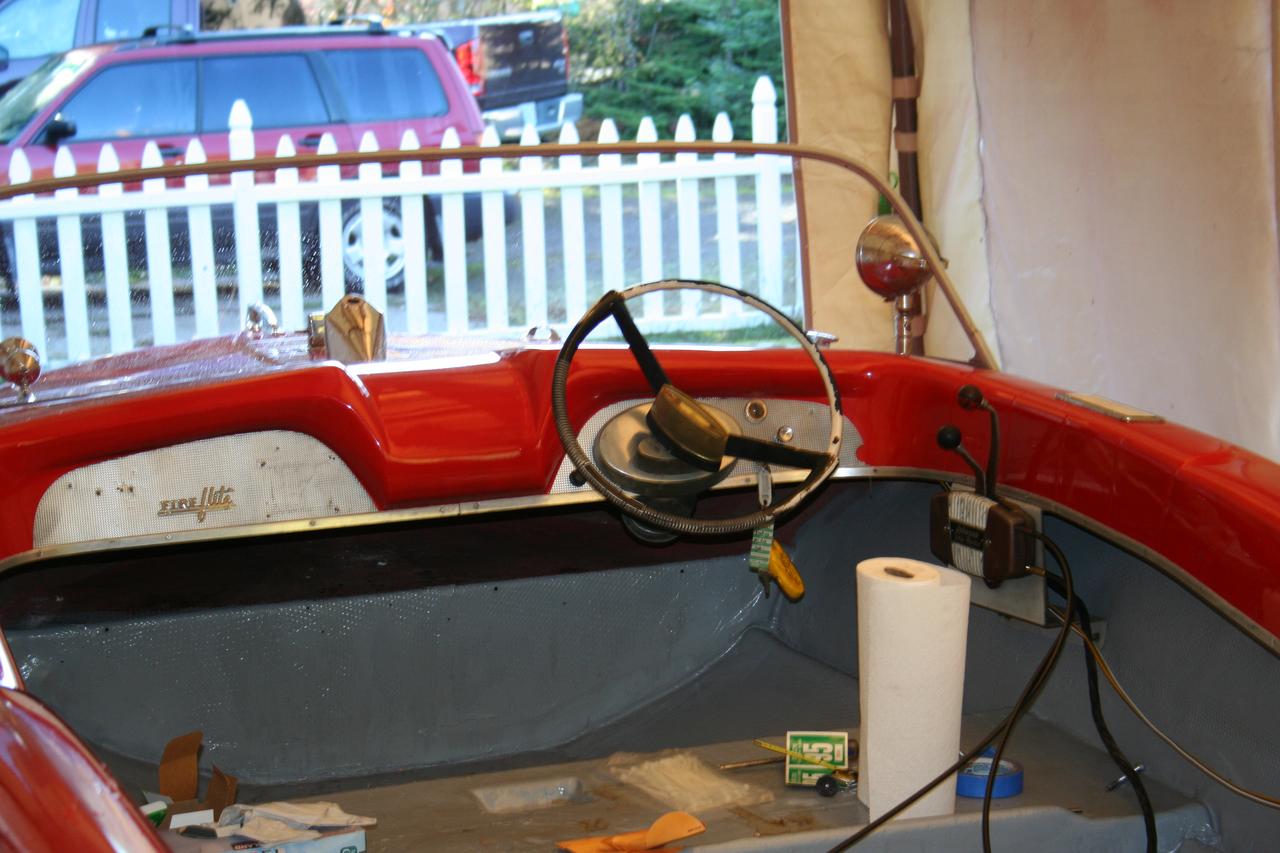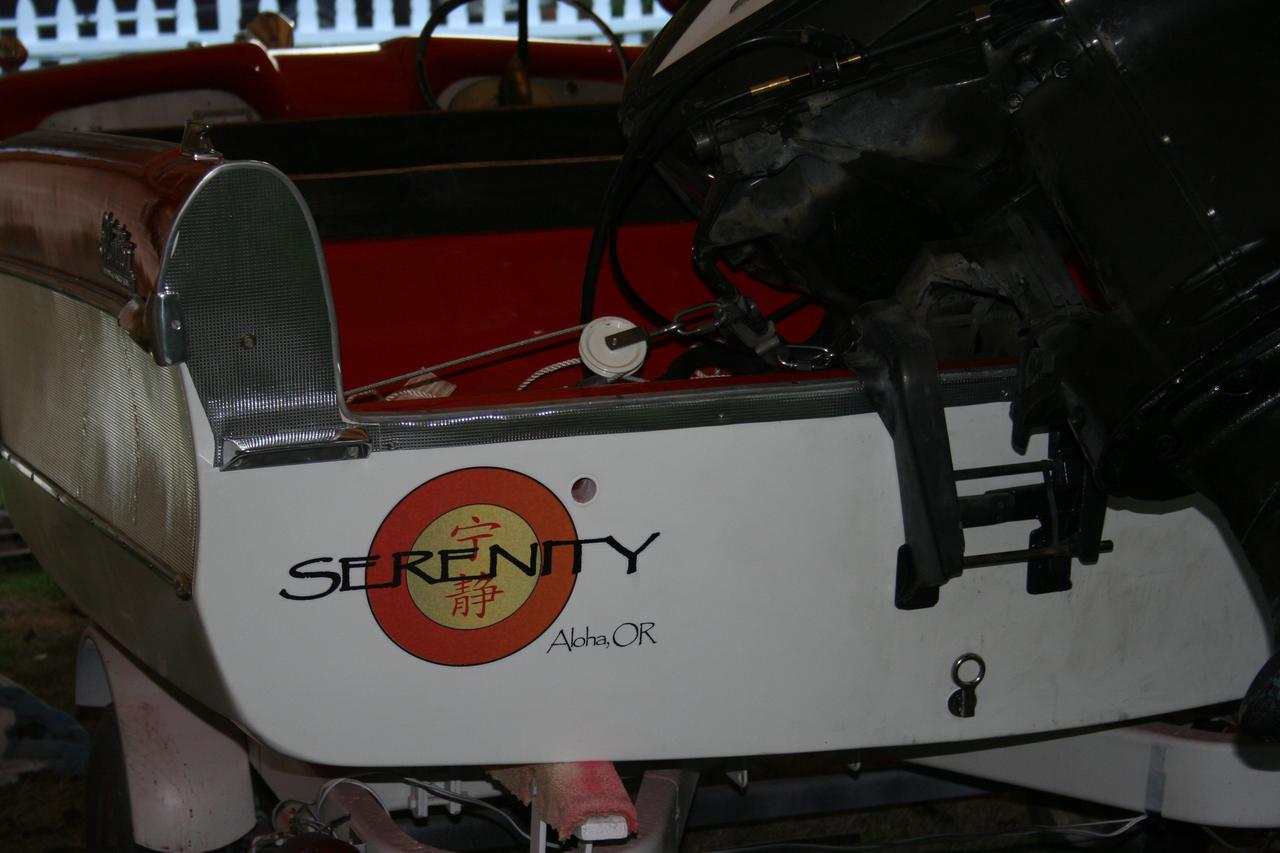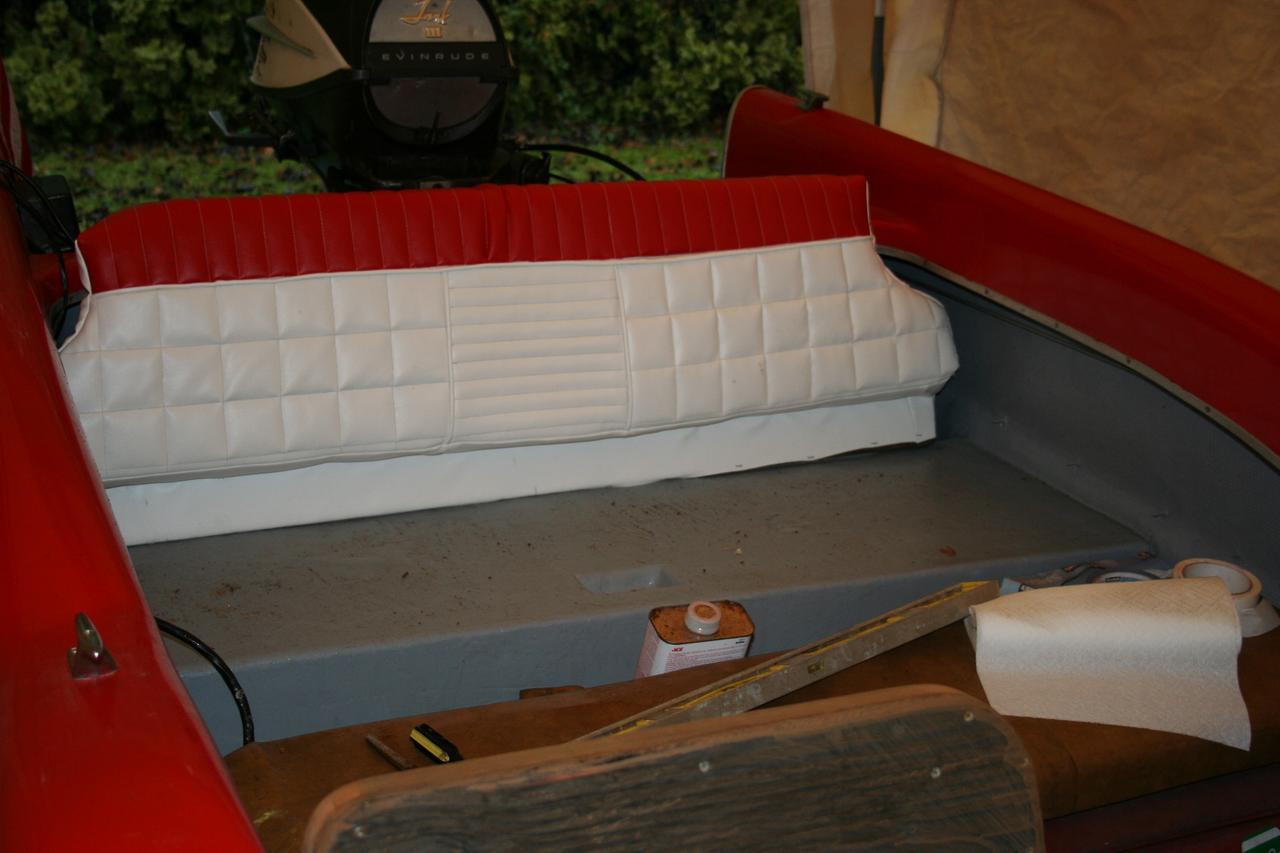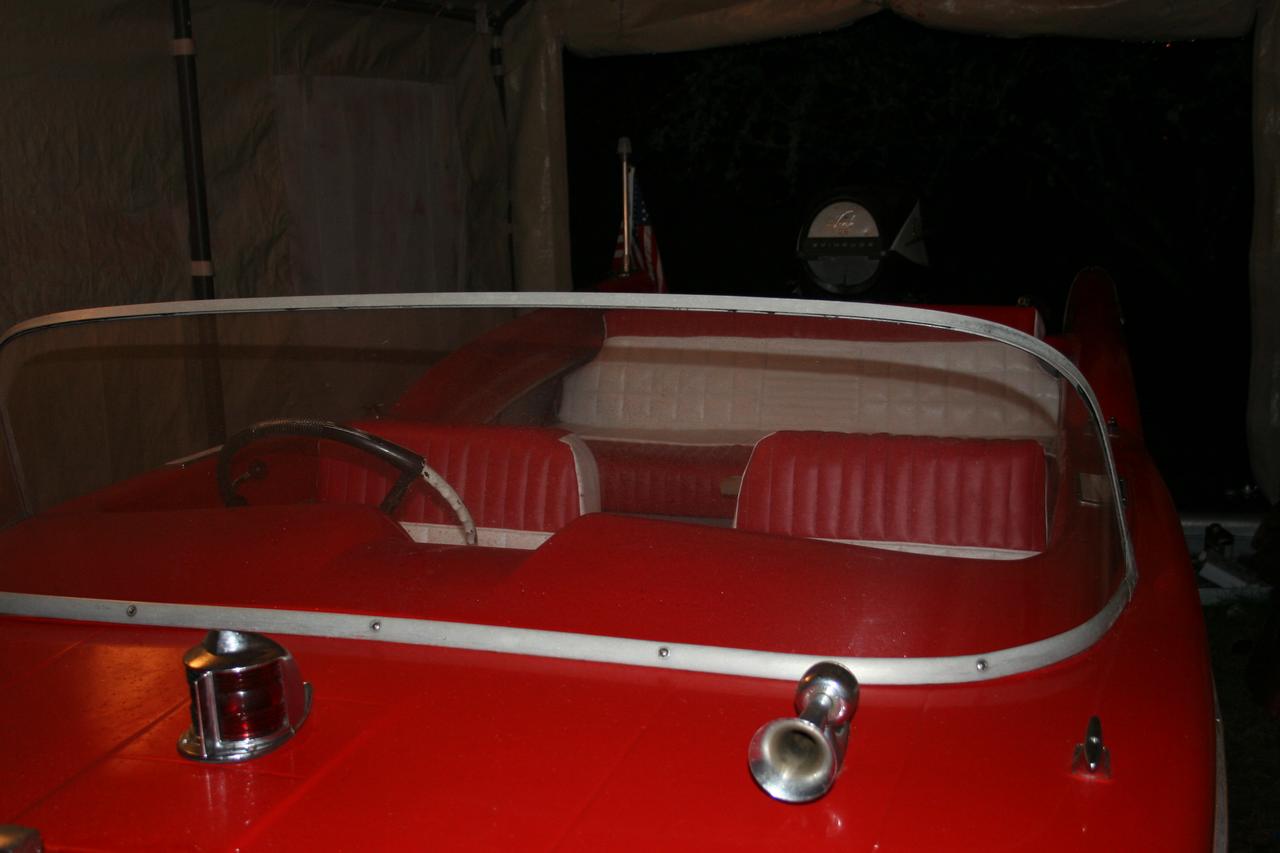
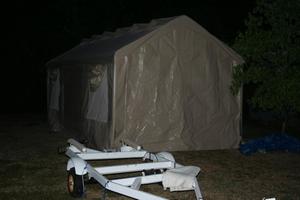
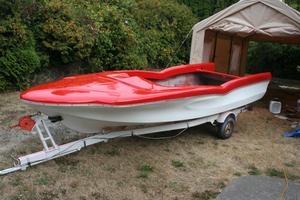
Incidental pictures

rxt_img_4816.jpg
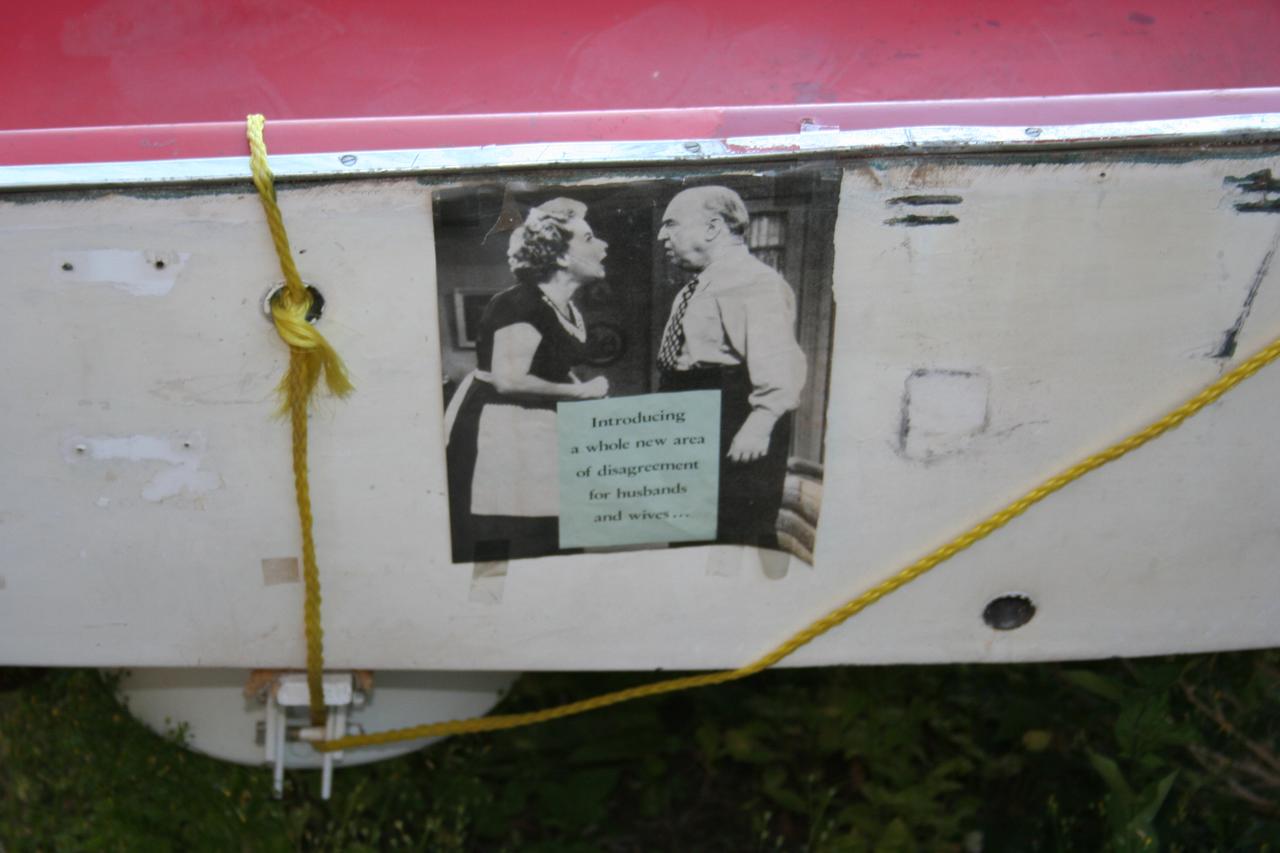
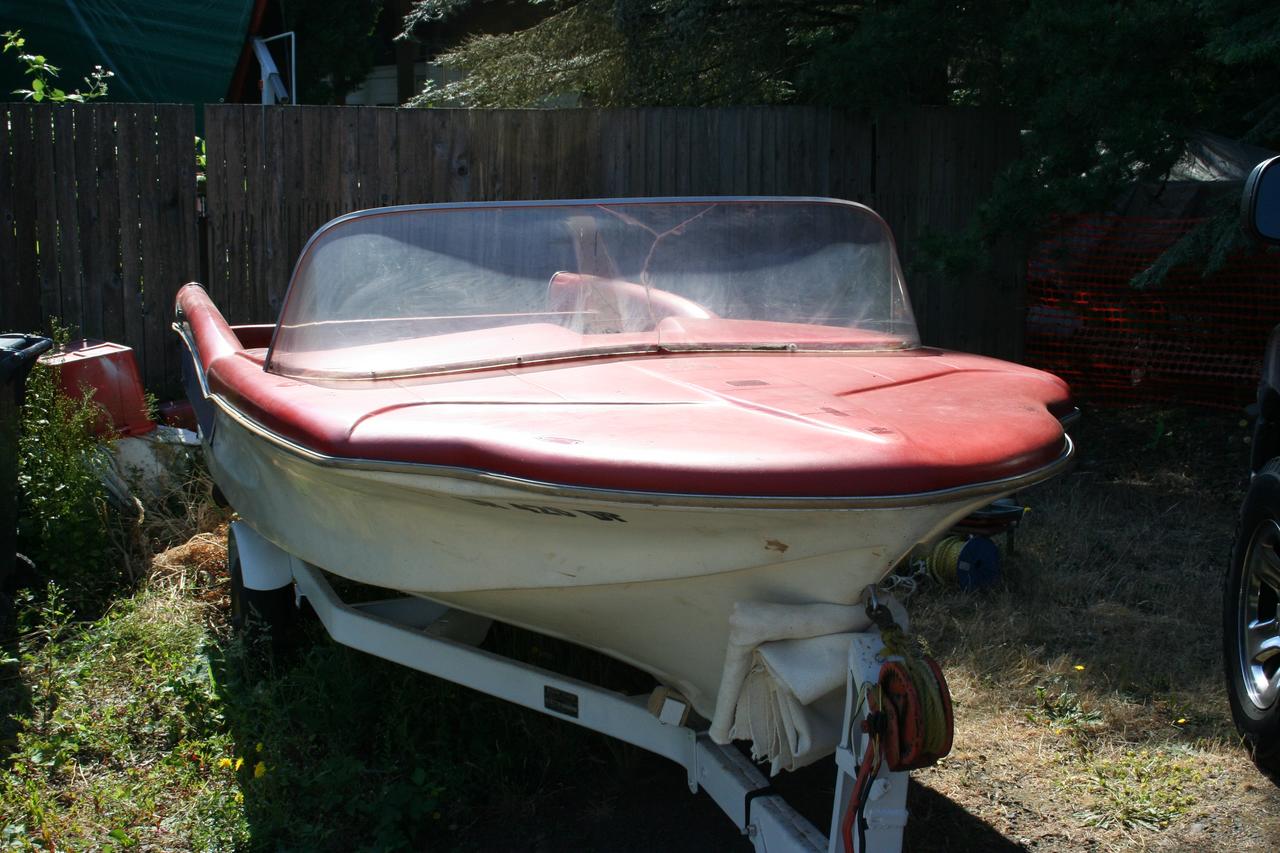
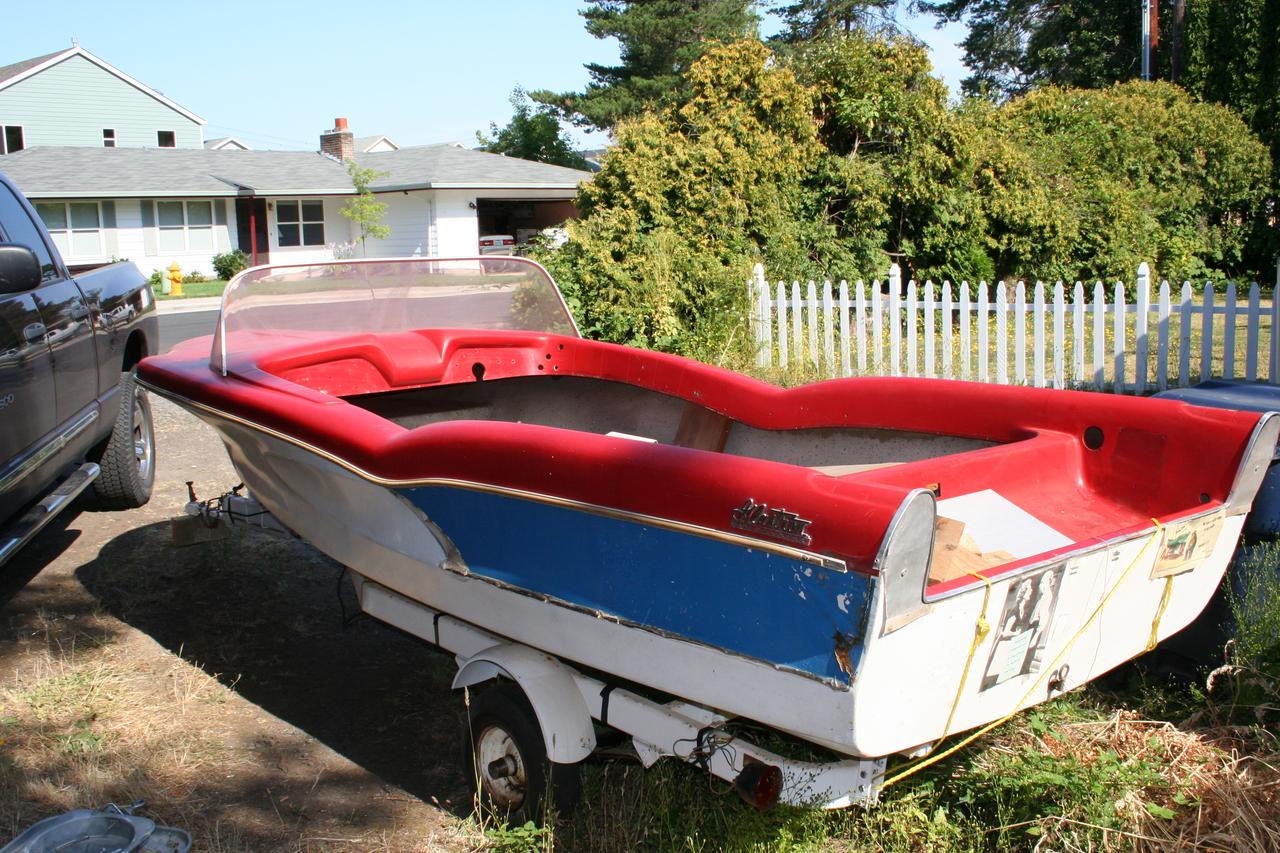
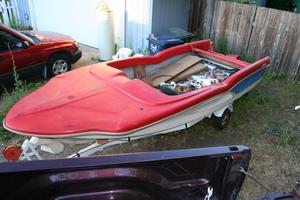
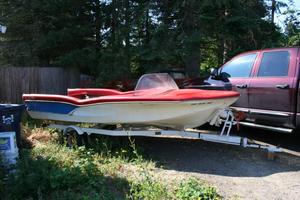
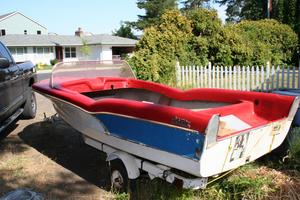
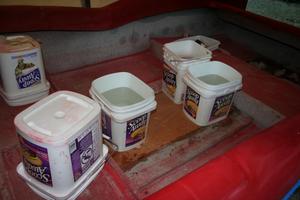
P.O.'s wife thought these were hi-larious...
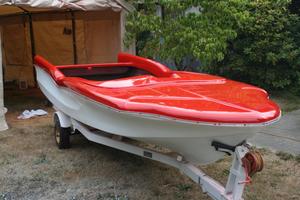
rxt_img_4817.jpg

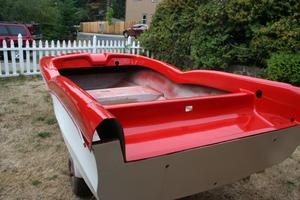
rxt_img_4823.jpg
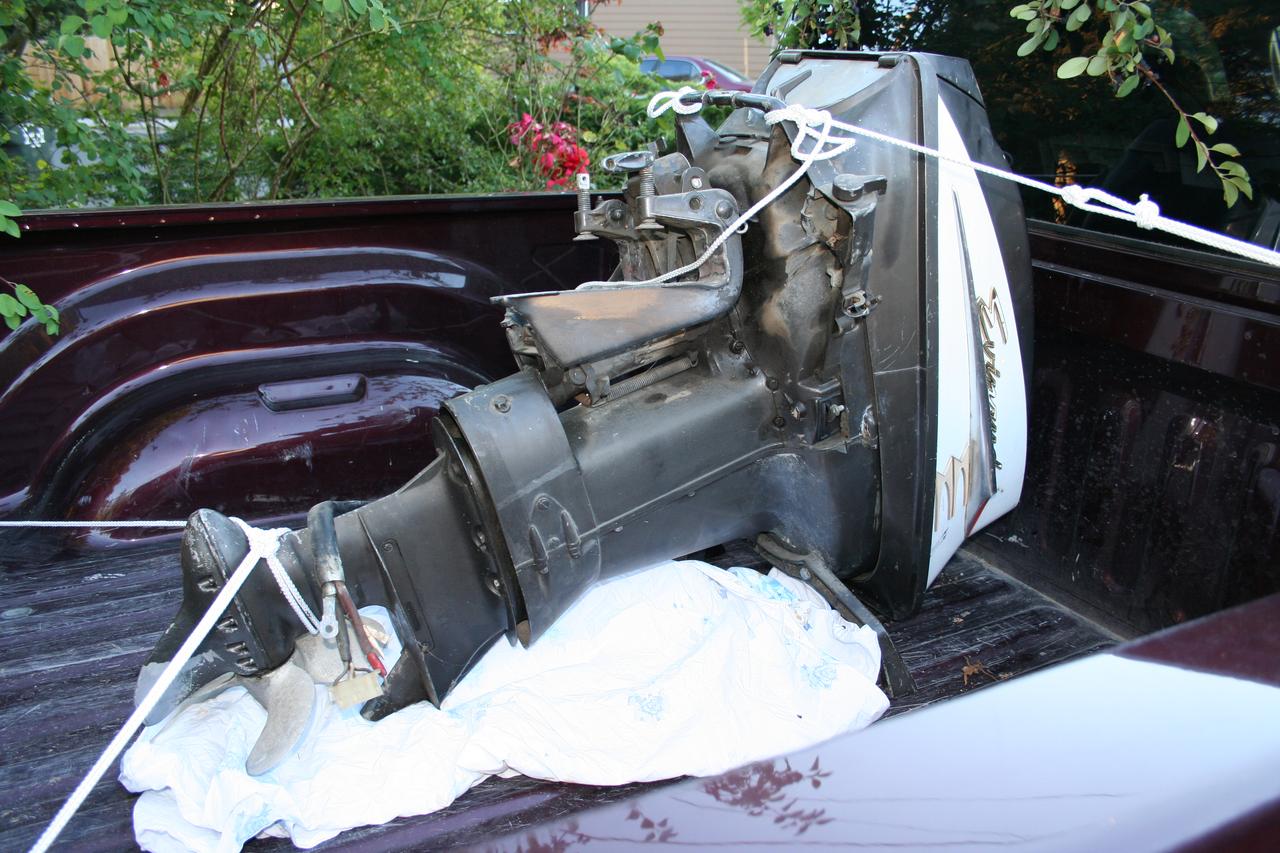
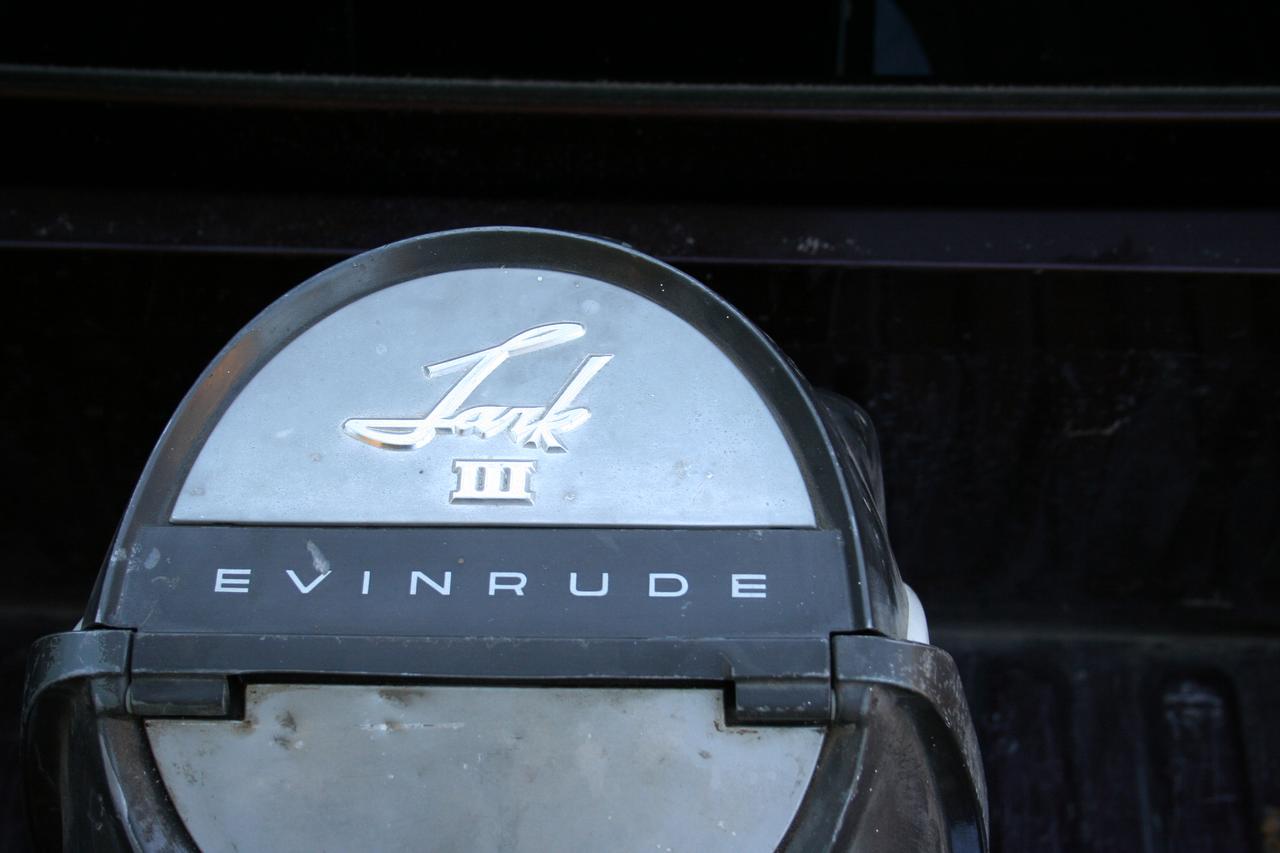
More than
six times the HP of Brushfire's kicker... and it runs!

rxt_img_4826.jpg
Electric start, with an "emergency" pull-start. (And it would take an emergency, like drifting toward a waterfall, to give me enough adrenaline to turn the beast over by hand!)
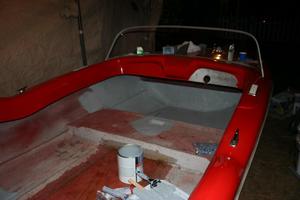
rxt_img_4828.jpg
rxt_img_4829.jpg

rxt_img_4831.jpg
rxt_img_4832.jpg
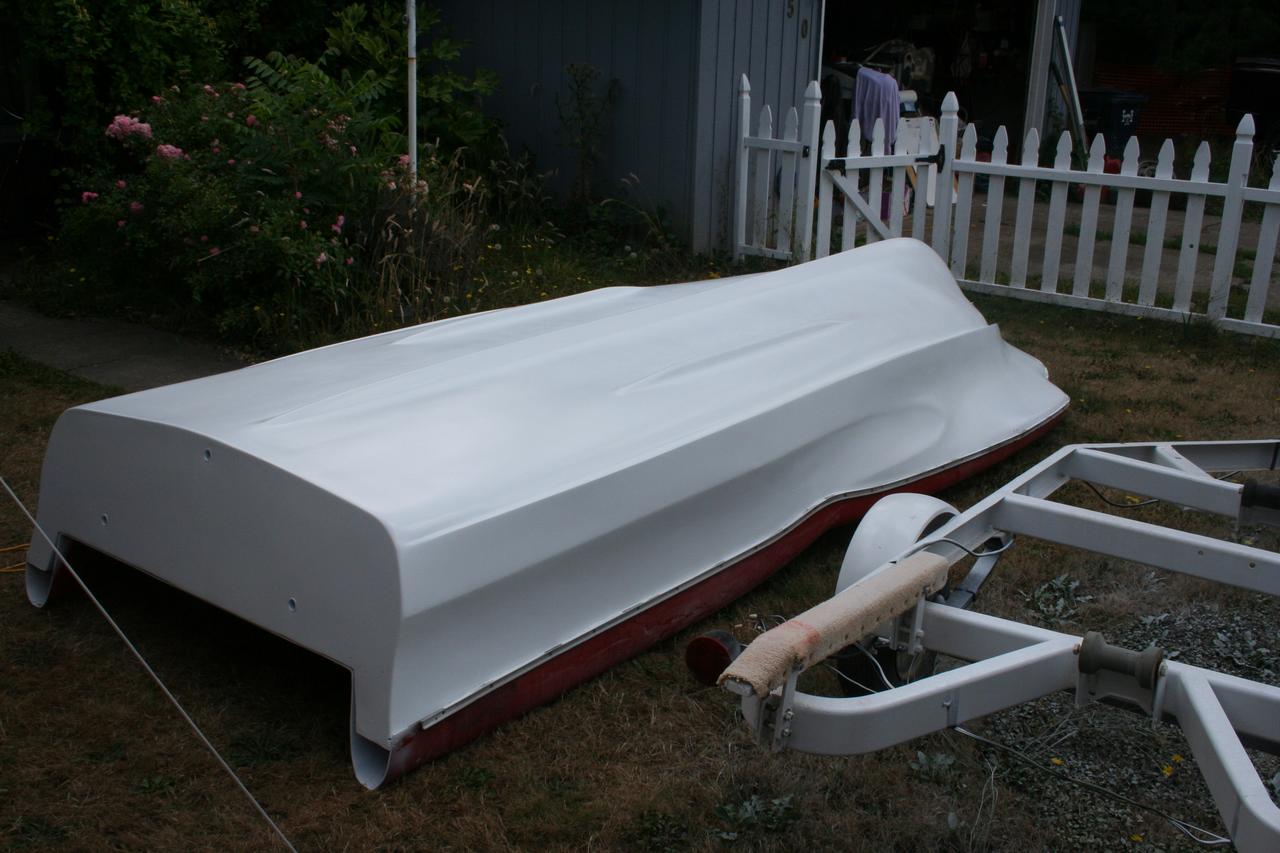
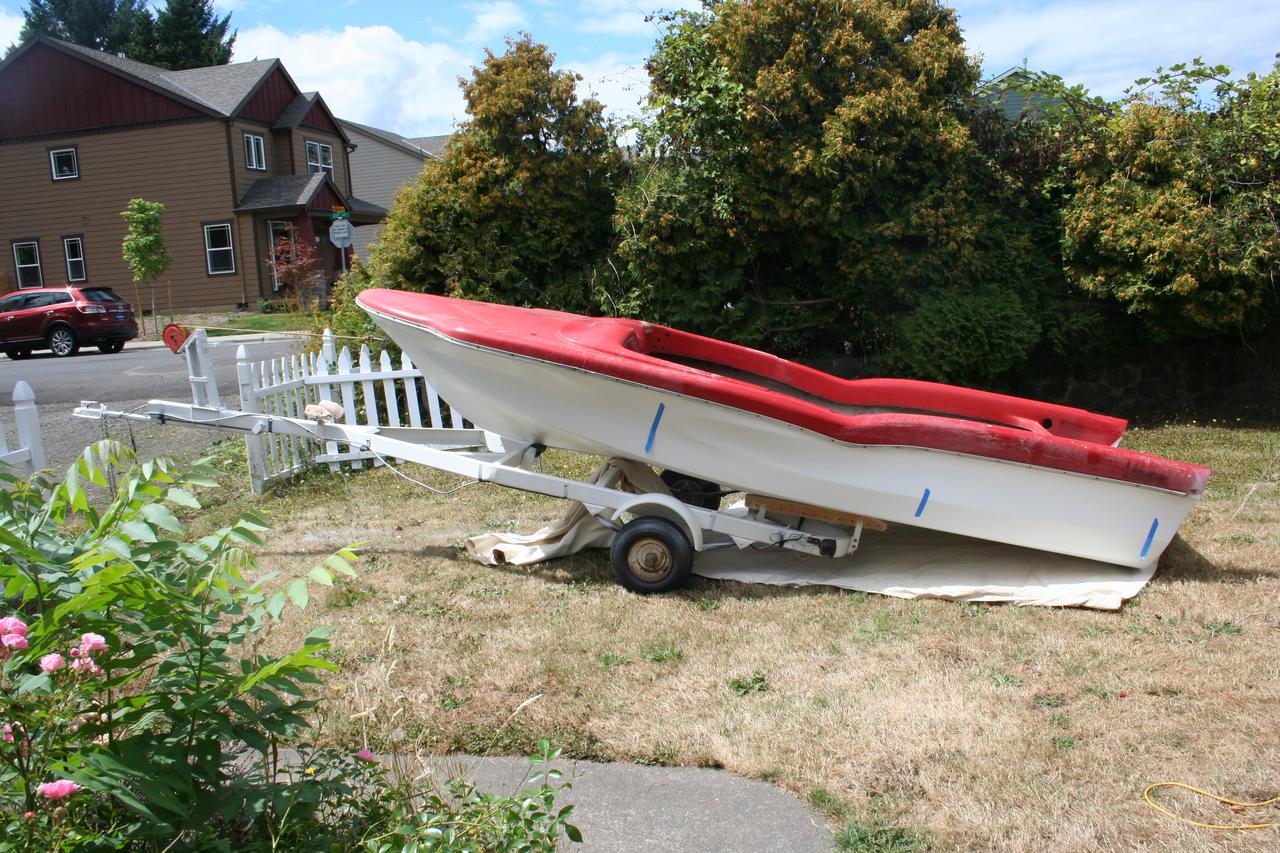
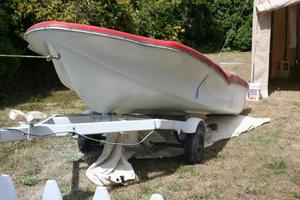
The scabby look on the port-stern quarter is not as dire as it might appear: There's a silver mylar sticker under the patriotic blue paint and the adhesive was coming loose. The 'glas underneath is fine.
rxt_img_4860.jpg

rxt_img_4861.jpg

rxt_img_4862.jpg
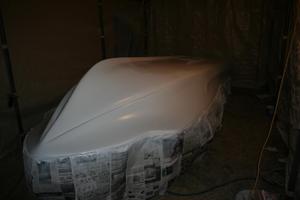
rxt_img_4955.jpg
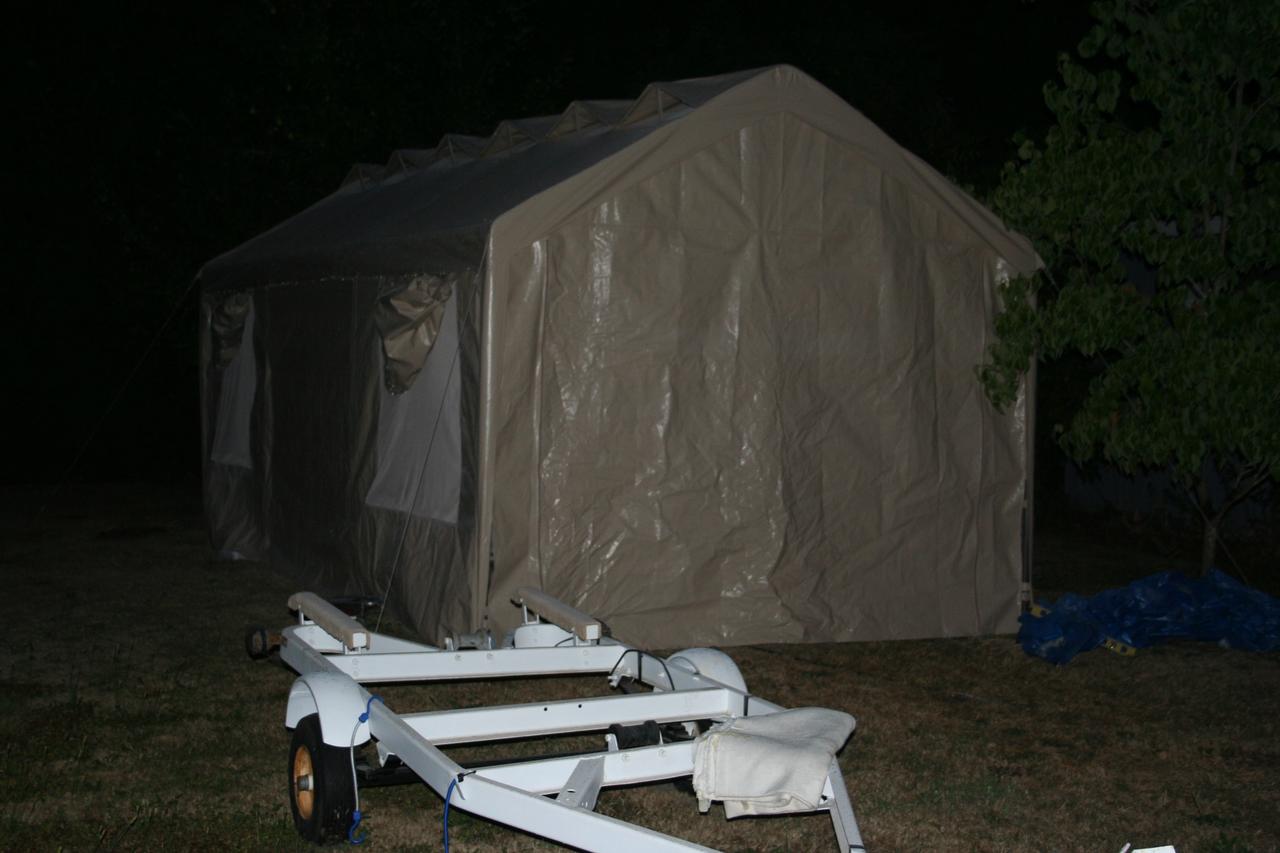
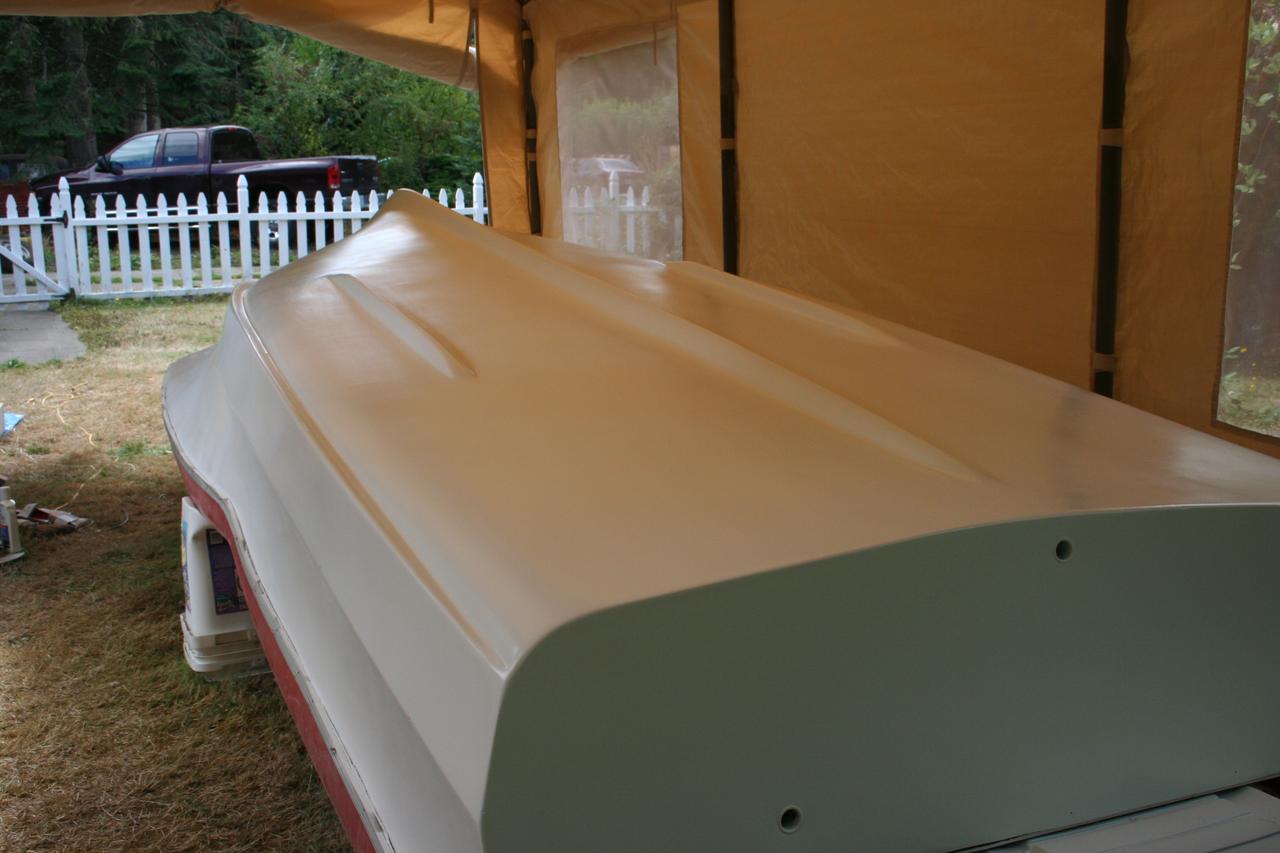
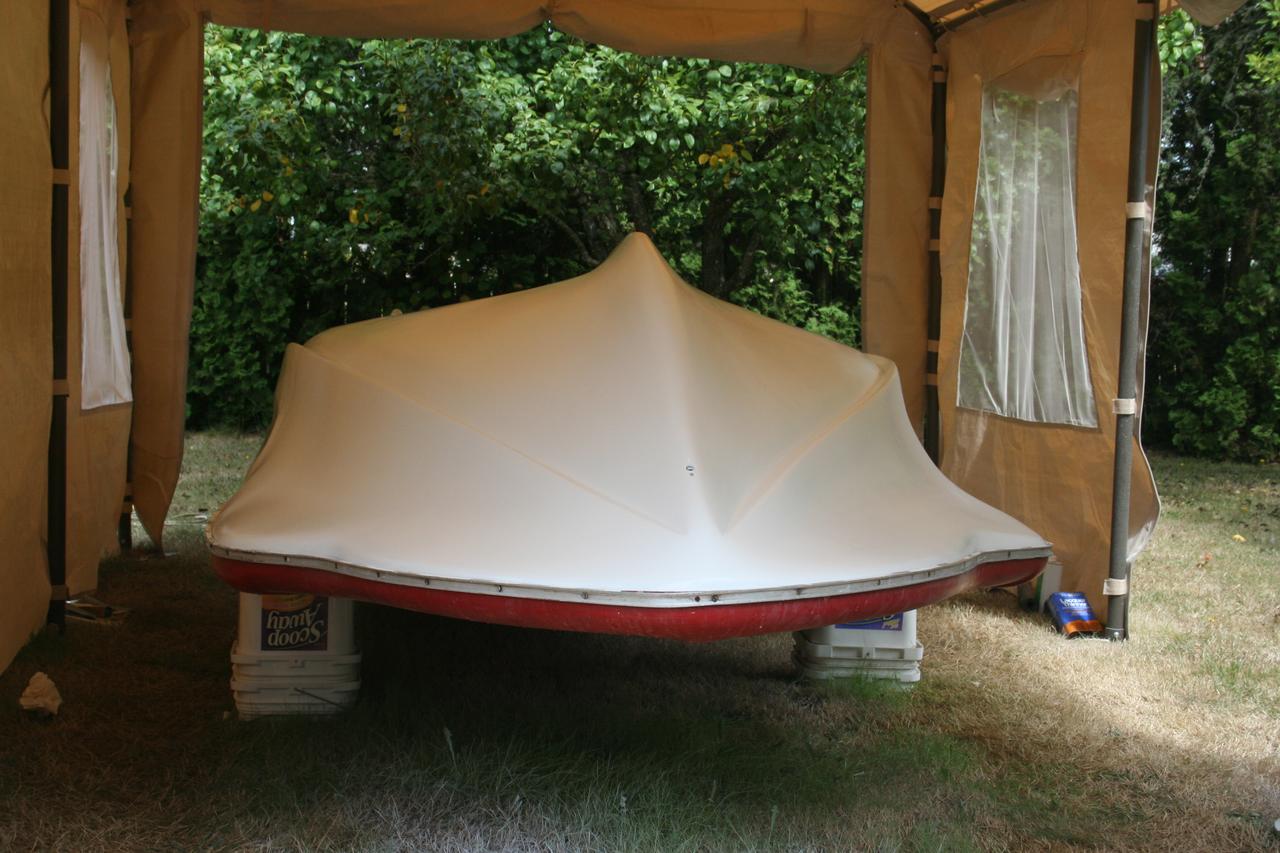
The portable
paint booth: a $165 enclosed awning from Costco
rxt_img_4964.jpg
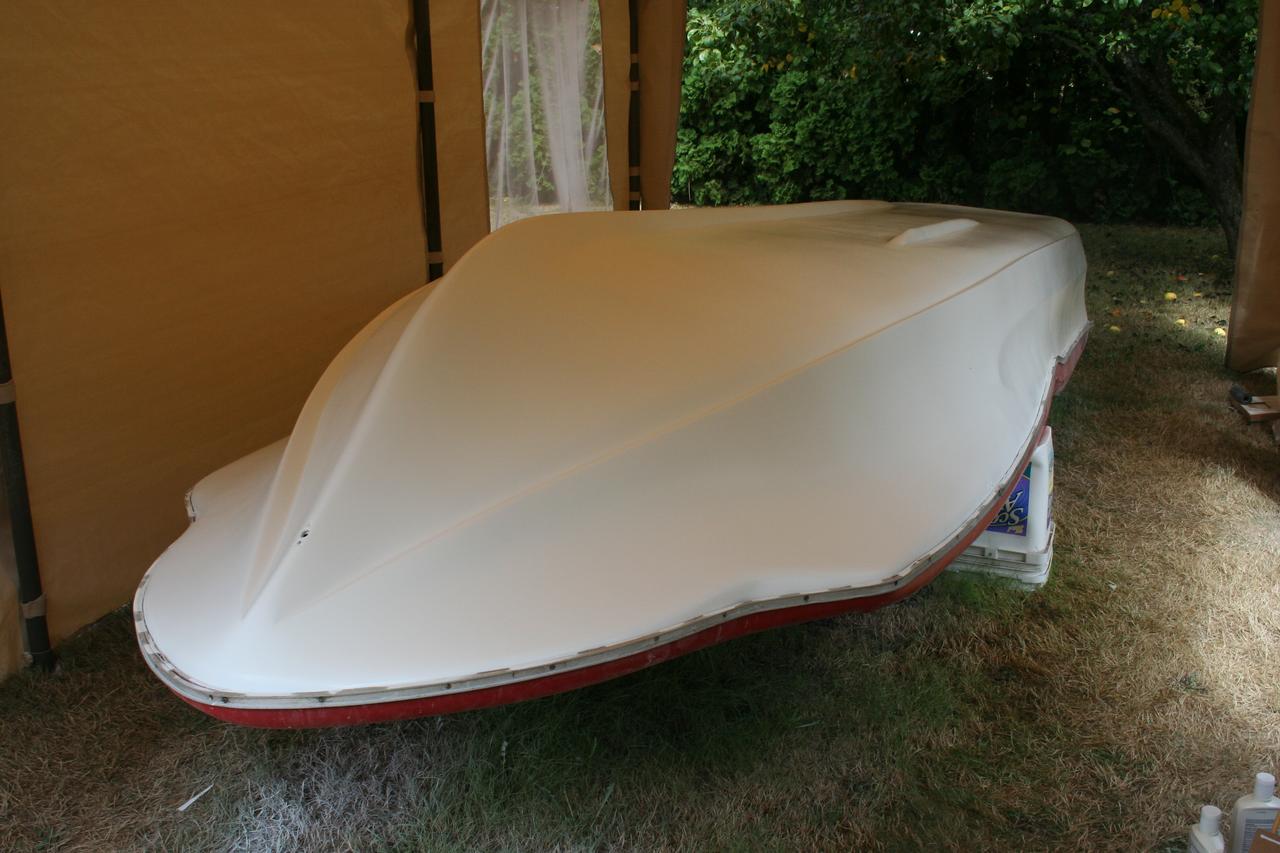
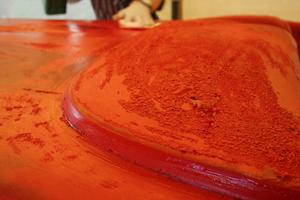
Interlux VC
Performance Epoxy bottom paint, still wet

rxt_img_4965.jpg
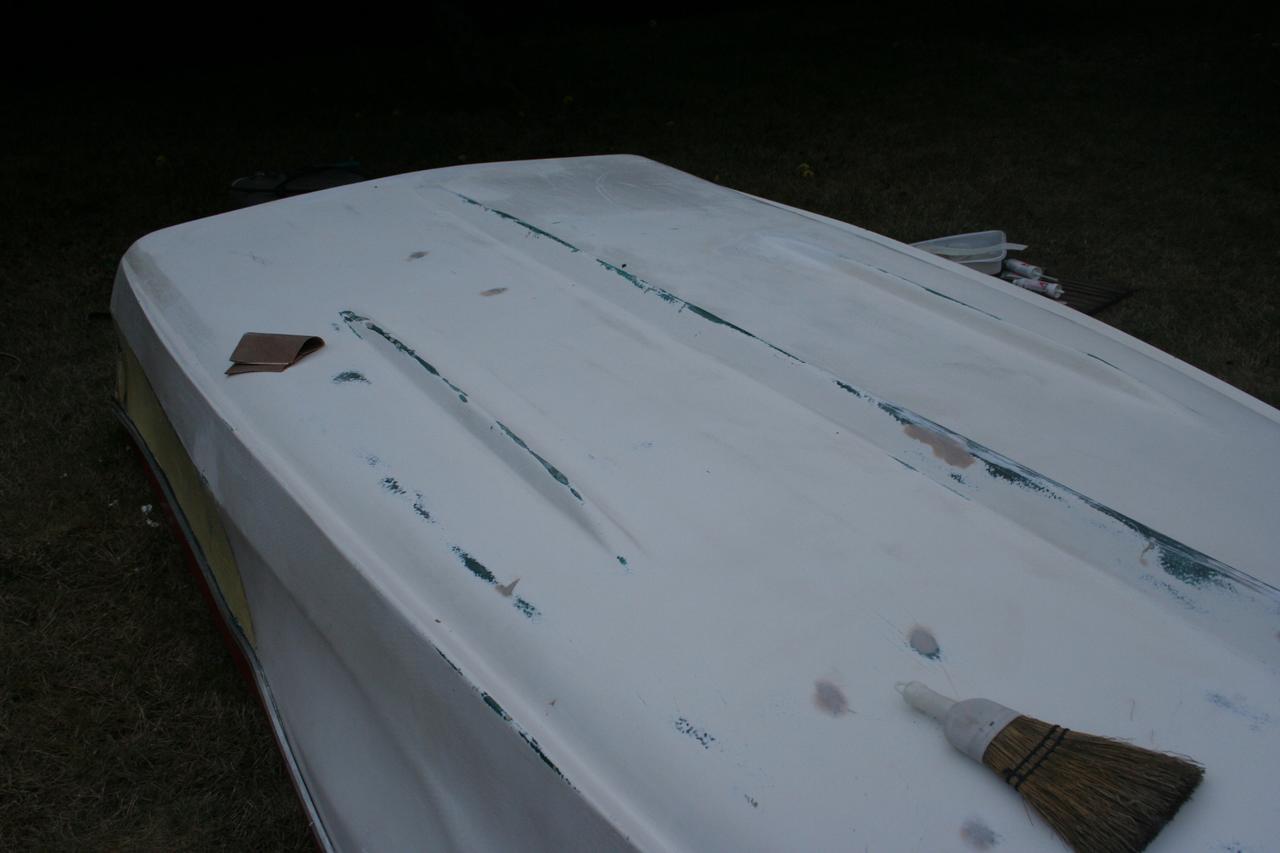
The result of
painting the bottom: Looks pretty good, but should look better after a
final buff-and-wax to be done later.

rxt_img_4968.jpg

rxt_img_4969.jpg

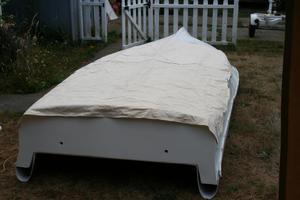
rxt_img_4973.jpg
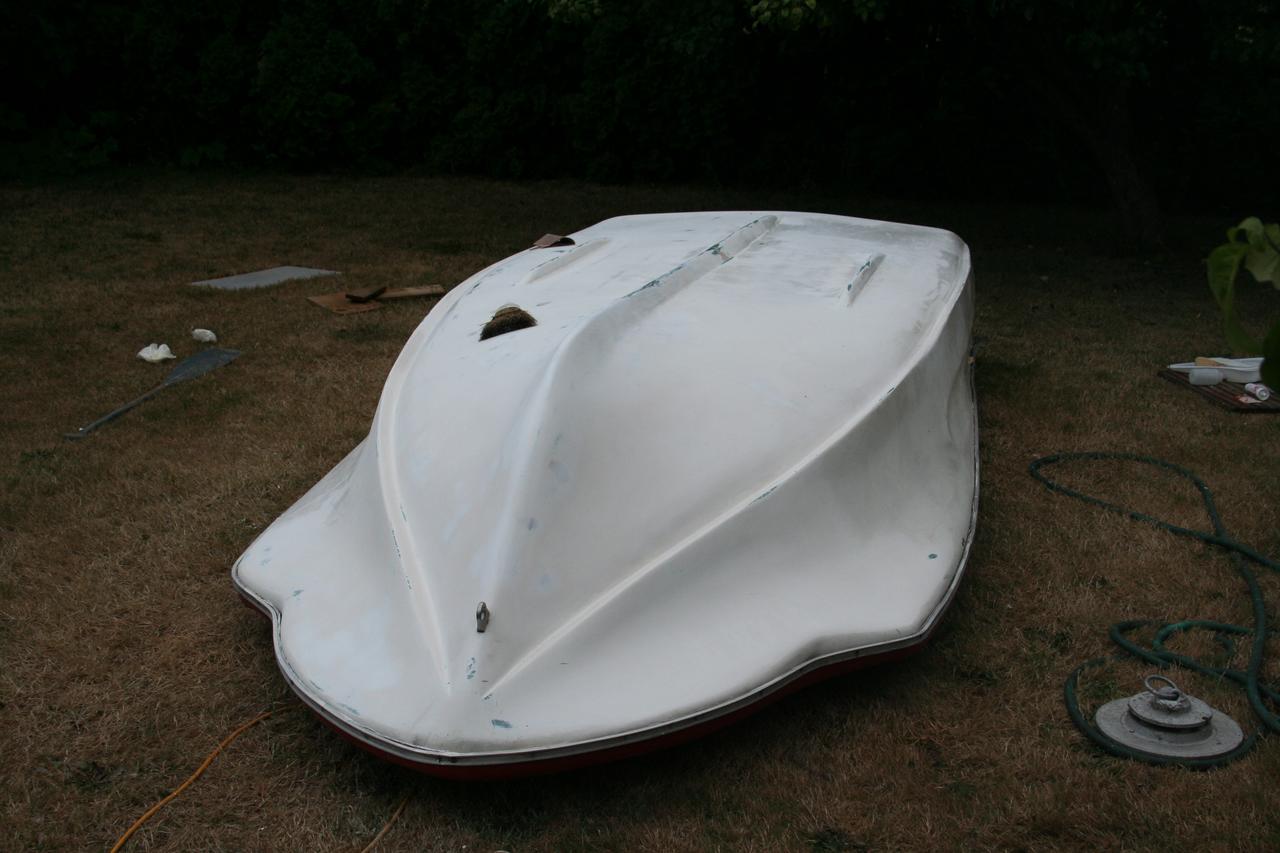
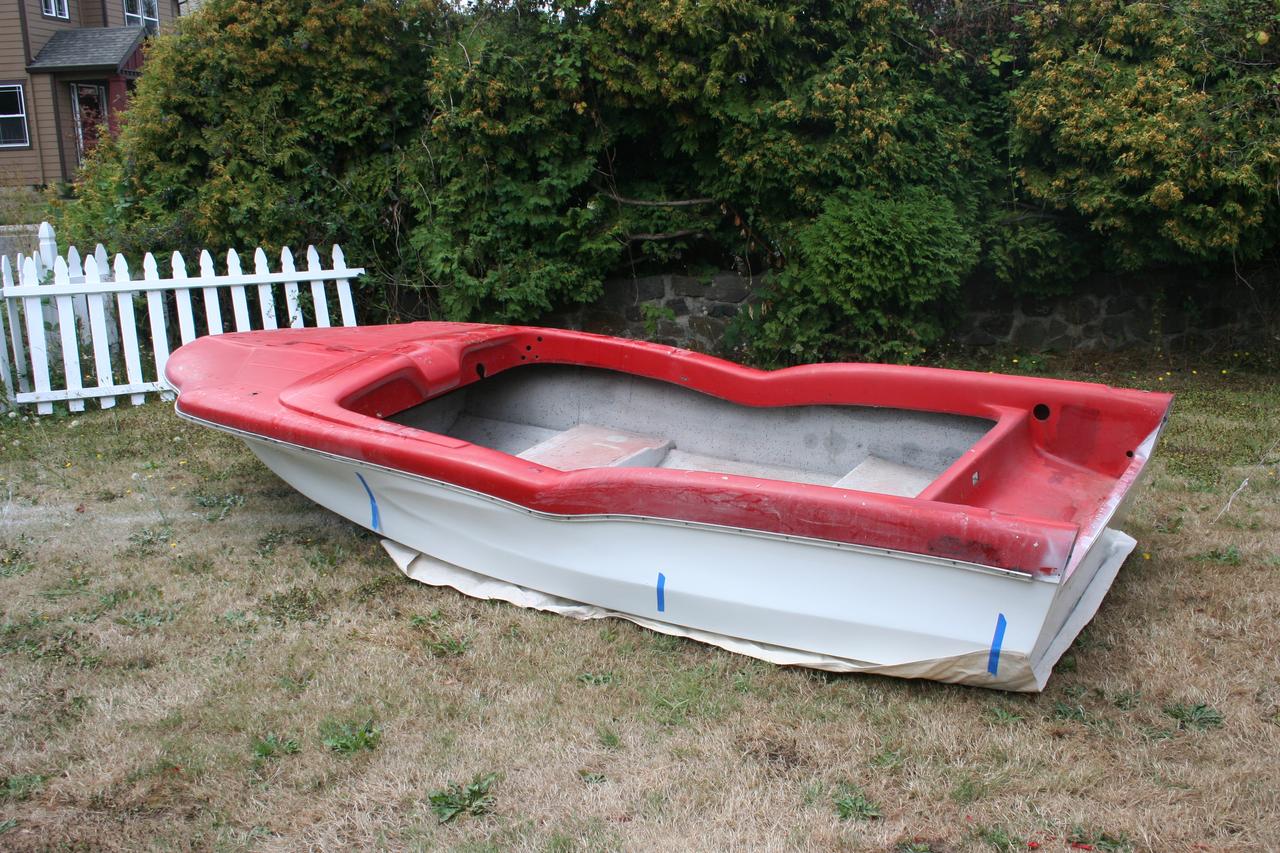
Flipping her
over and loading back onto the trailer to work on the topsides

rxt_img_4975.jpg
rxt_img_4976.jpg

rxt_img_4978.jpg

rxt_img_4981.jpg
rxt_img_4983.jpg
rxt_img_4985.jpg

rxt_img_4987.jpg
Back in the
"booth"

rxt_img_4991.jpg

rxt_img_4992.jpg
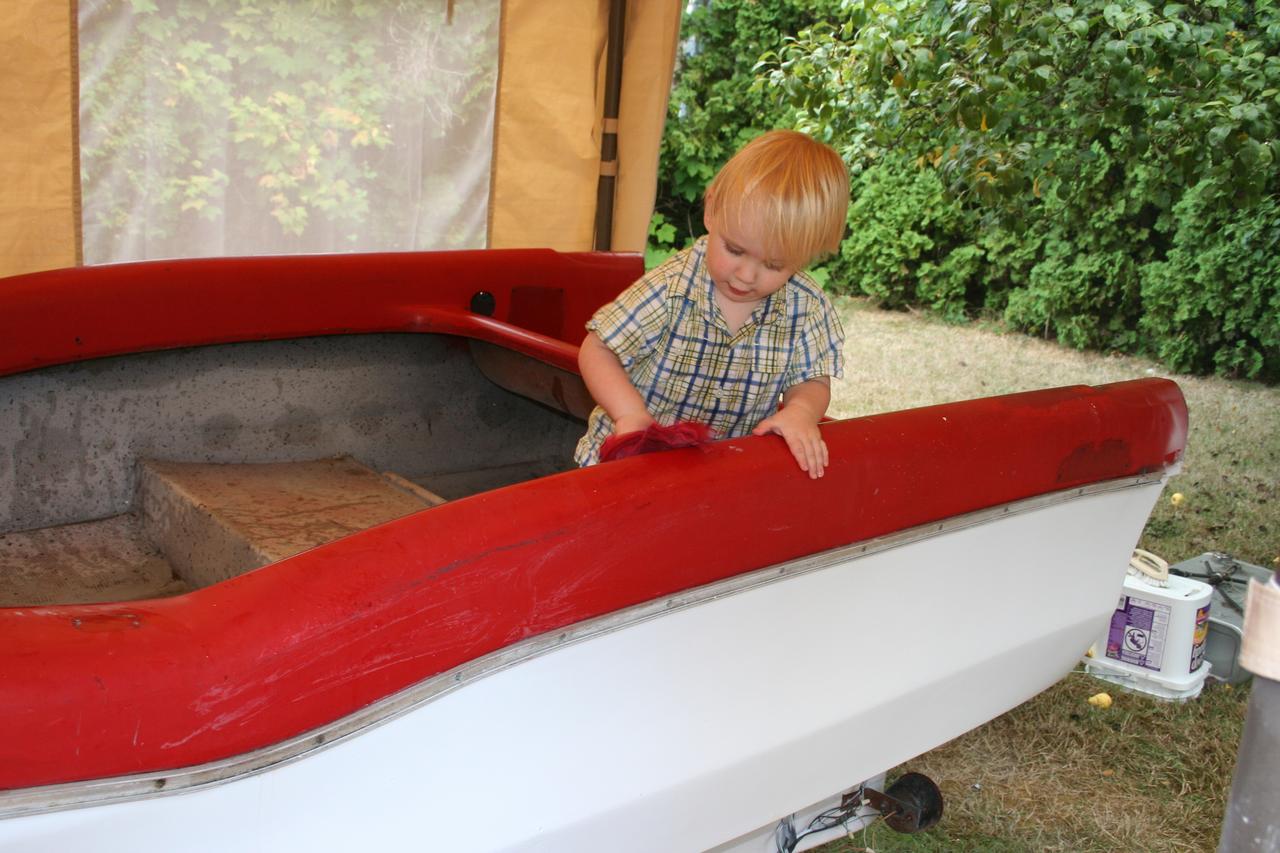
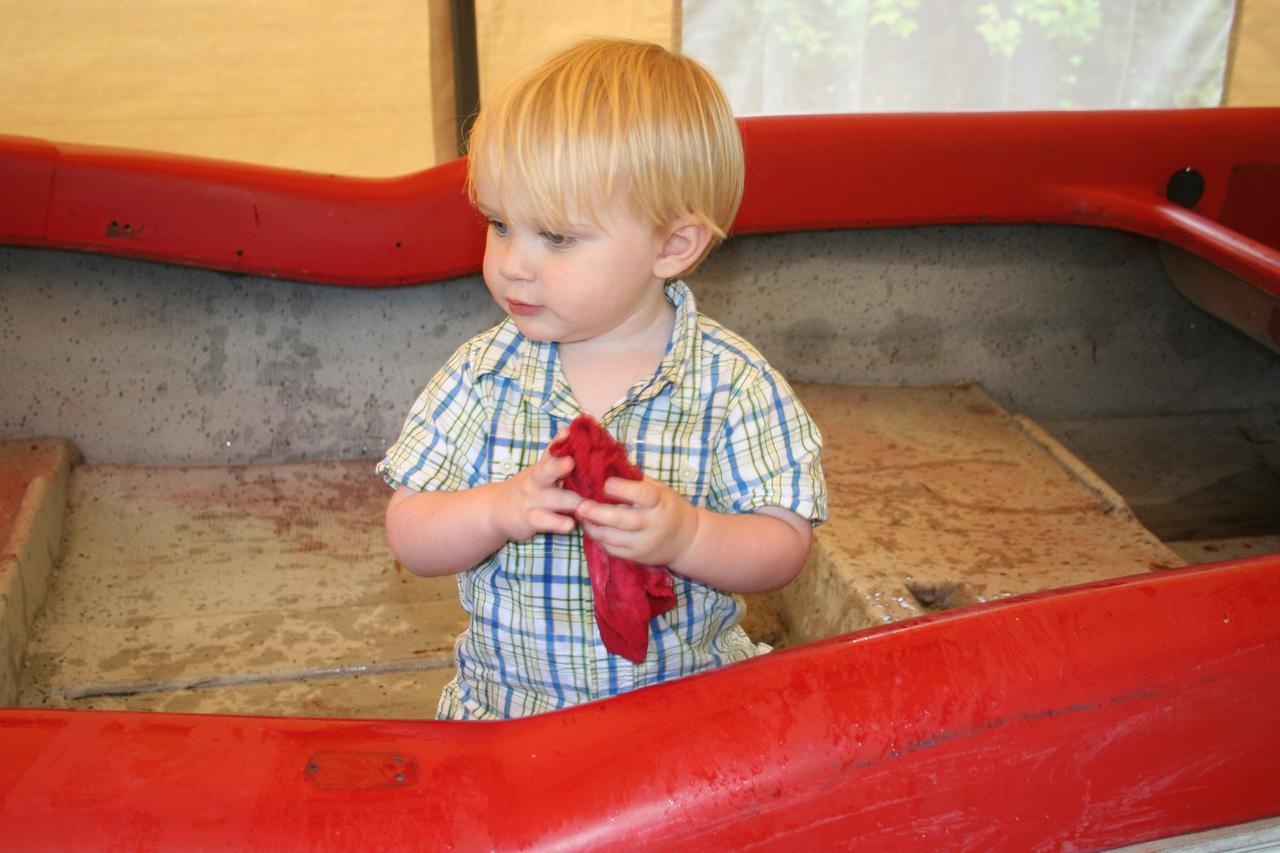
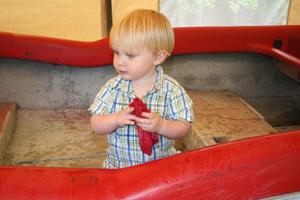
22-month-old
Theodore helps Papa work on the topsides
rxt_img_5001.jpg
I dunno
Pop... looks like it needs a lot more work!

rxt_img_5004.jpg
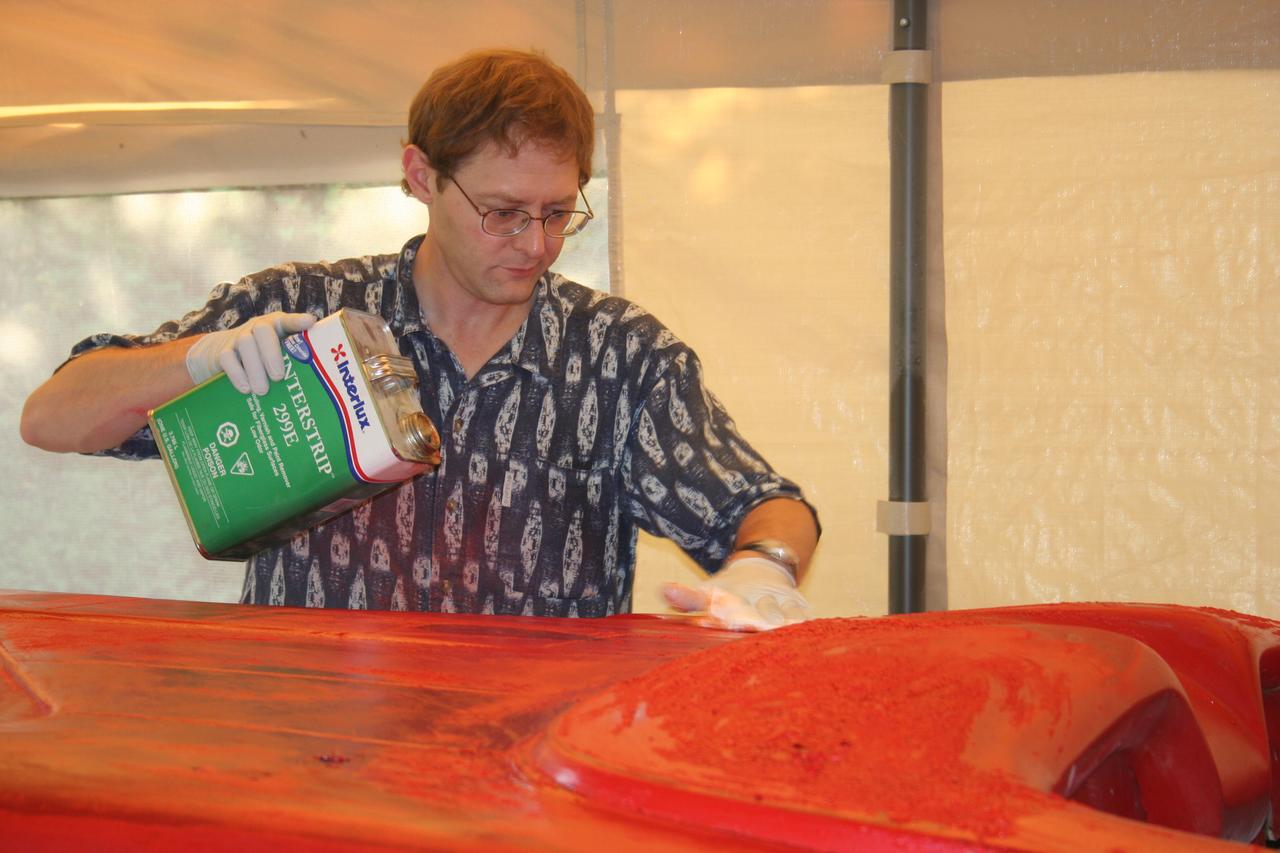
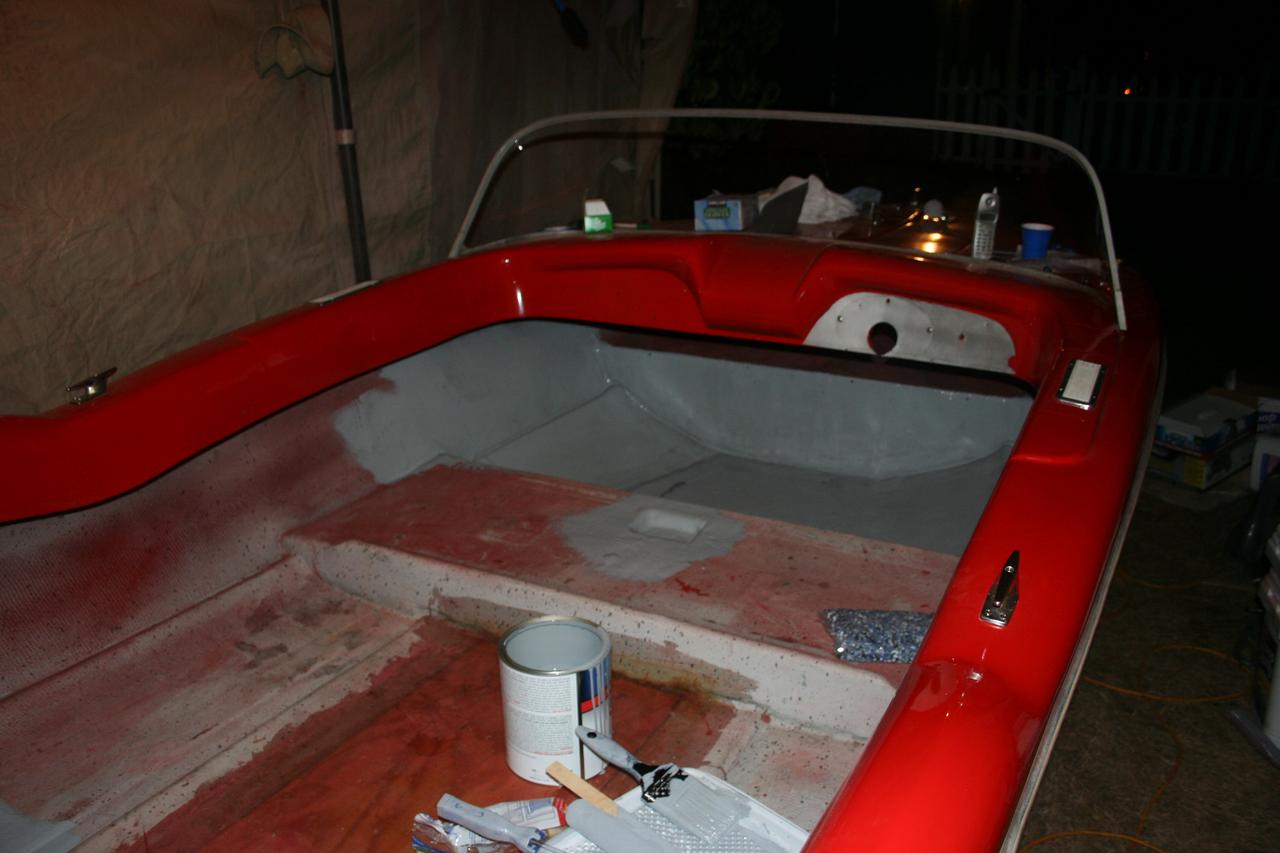
Applying
Interlux 299E paint stripper to the topsides, a big mistake, as it turns
out...
rxt_img_5006.jpg
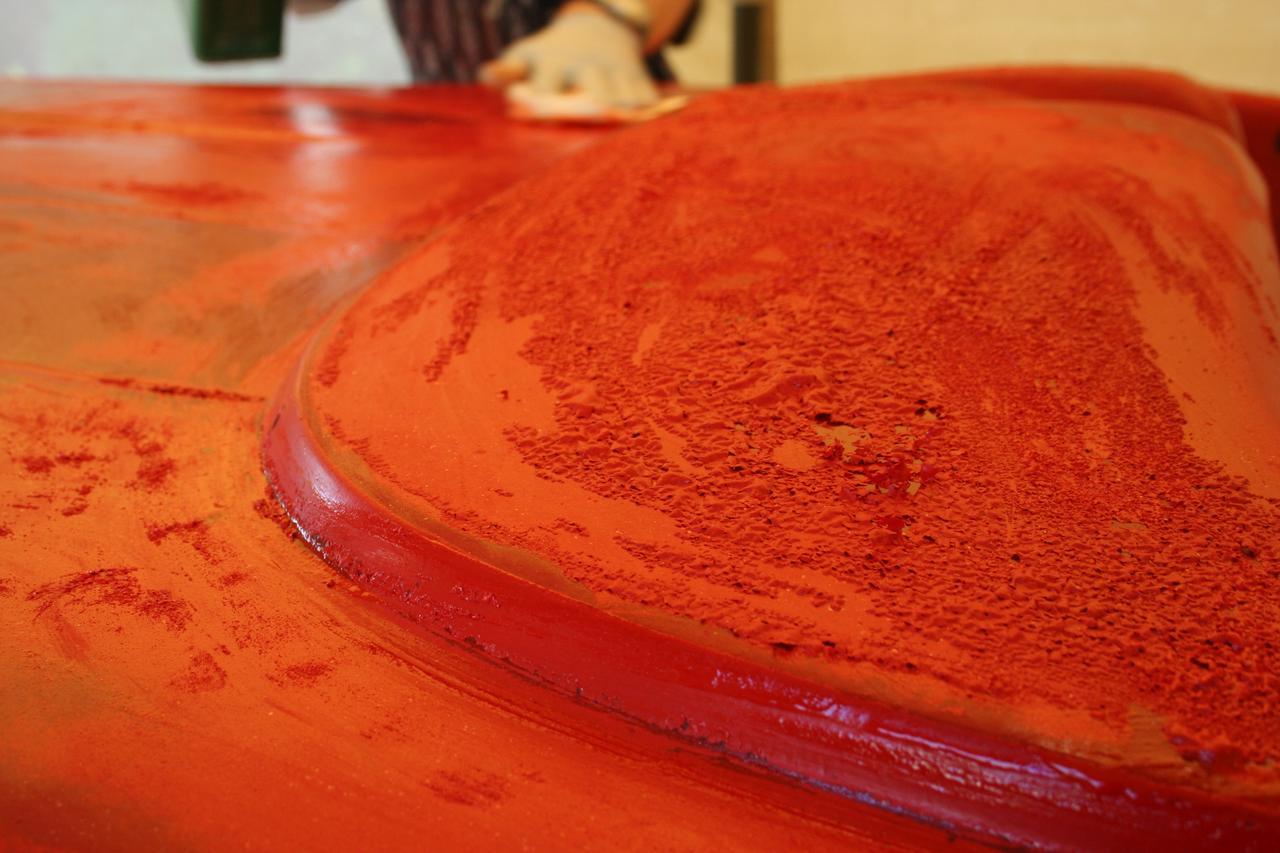
The paint came
loose in spots, but for some reason the 299E attacked the fiberglass on
the deck, requiring a lot of work to fill pinholes. (This didn't happen
on the bottom, thankfully! Perhaps different formulations in the resin,
or maybe the topsides had aged more due to higher UV exposure.)
rxt_img_5009.jpg
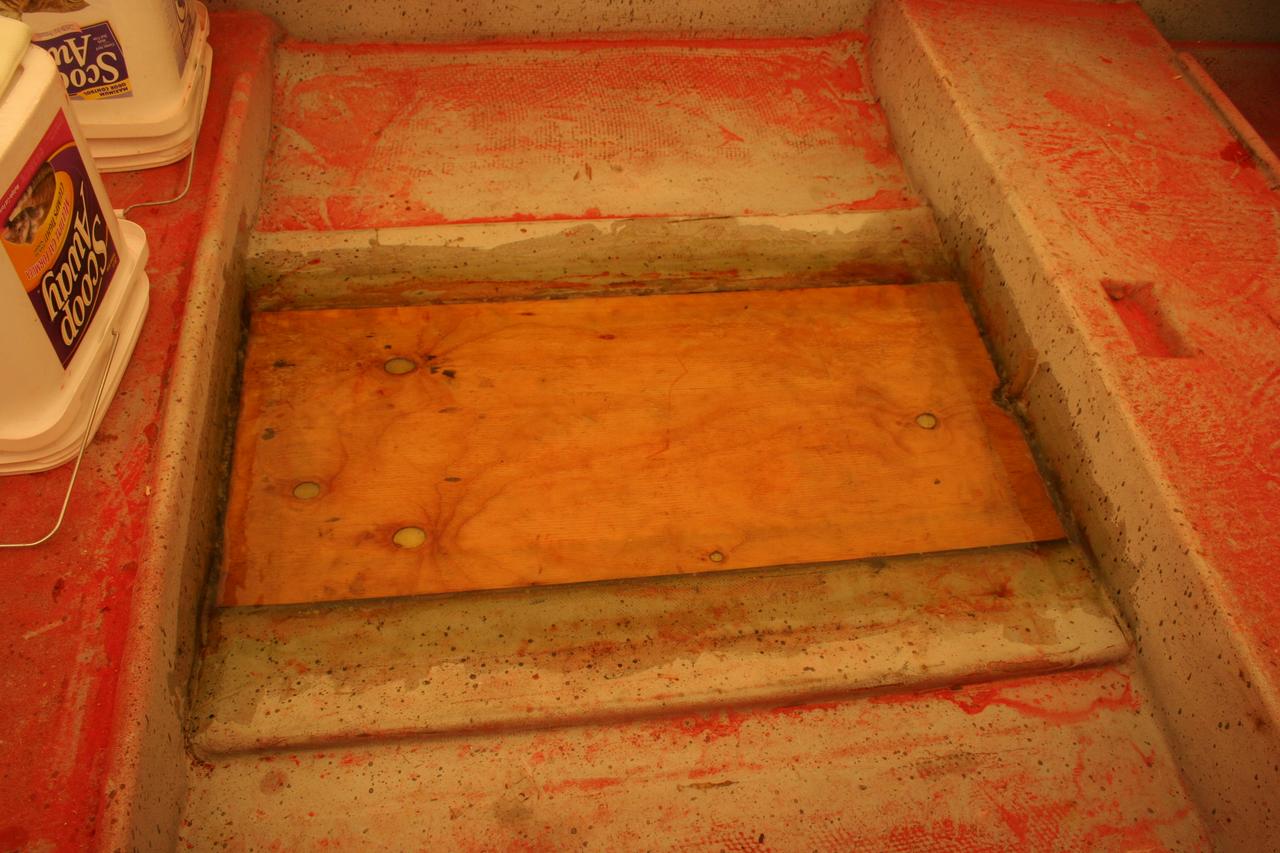
Installing a new
floorboard in the center section: Fiberglass mat, then CDX plywood, then
more fiberglass.
rxt_img_5014.jpg
Test of
rolled-on Interlux Prime-Kote primer in the splashwell. This did not
level out well and roller marks were very evident. I sanded it back
down and sprayed the primer instead.

rxt_img_5018.jpg
Finished
floorboard

rxt_img_5021.jpg
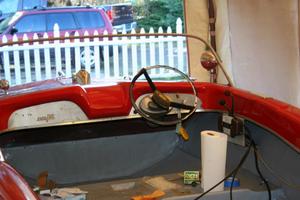
Didn't like the
location of the engine controls, so I filled the holes and will install
them on the dash eventually.
rxt_img_5025.jpg
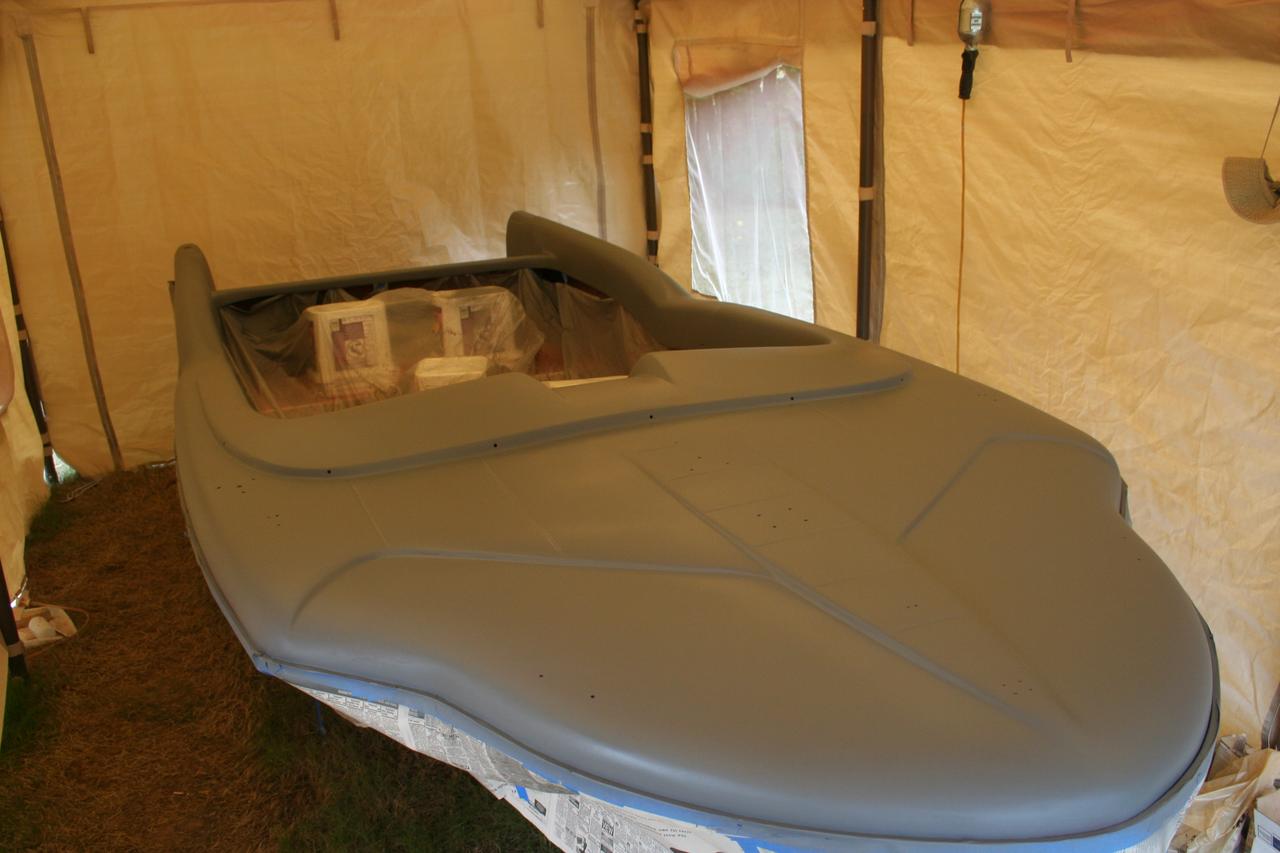
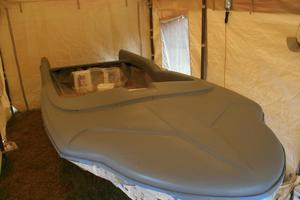
"The Grey Ghost"

rxt_img_5026.jpg
This is the
first coat of primer. It has to be sanded before the second coat is
applied, then the second coat has to be sanded before shooting the color
coats.

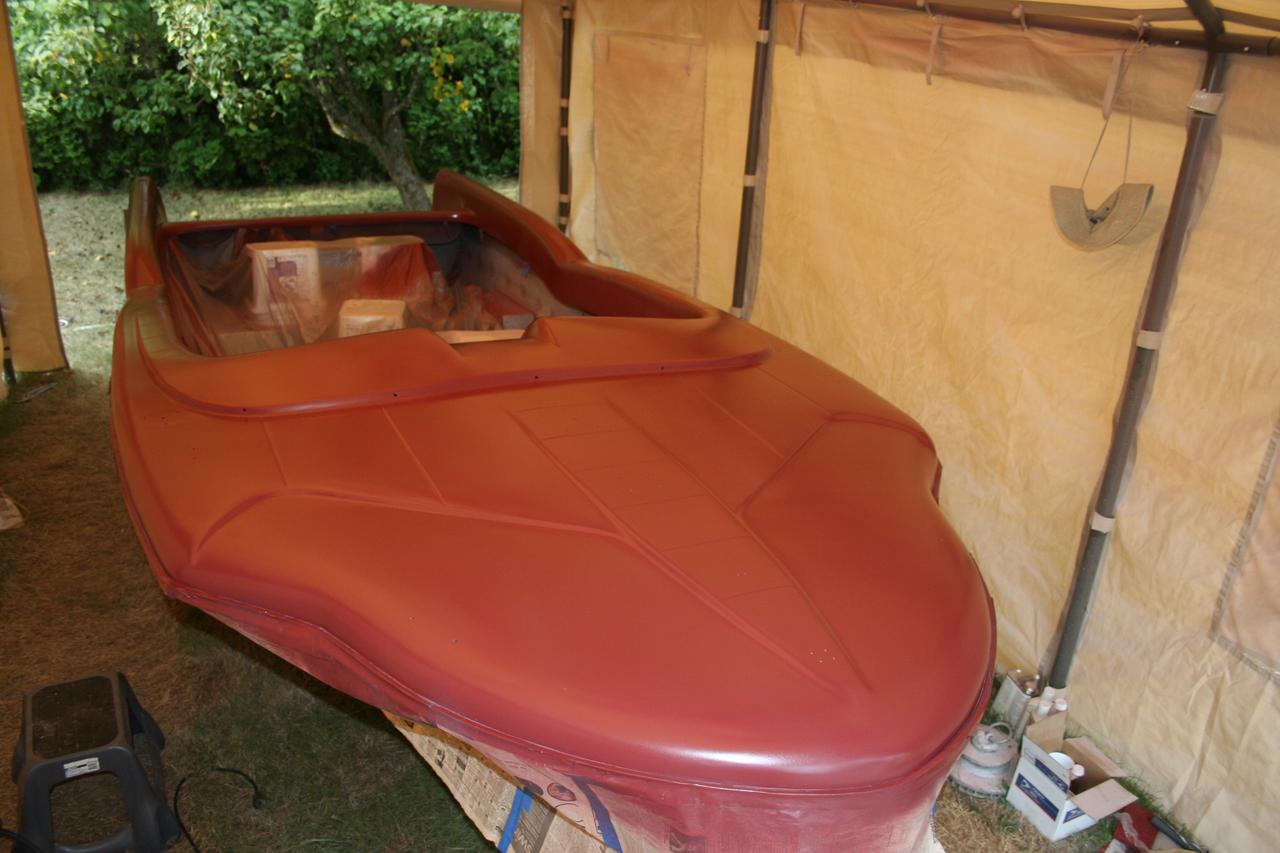
rxt_img_5028.jpg -- Second primer coat: 50/50 Interlux PreKote and "Fire Red" Brightsides
rxt_img_5031.jpg
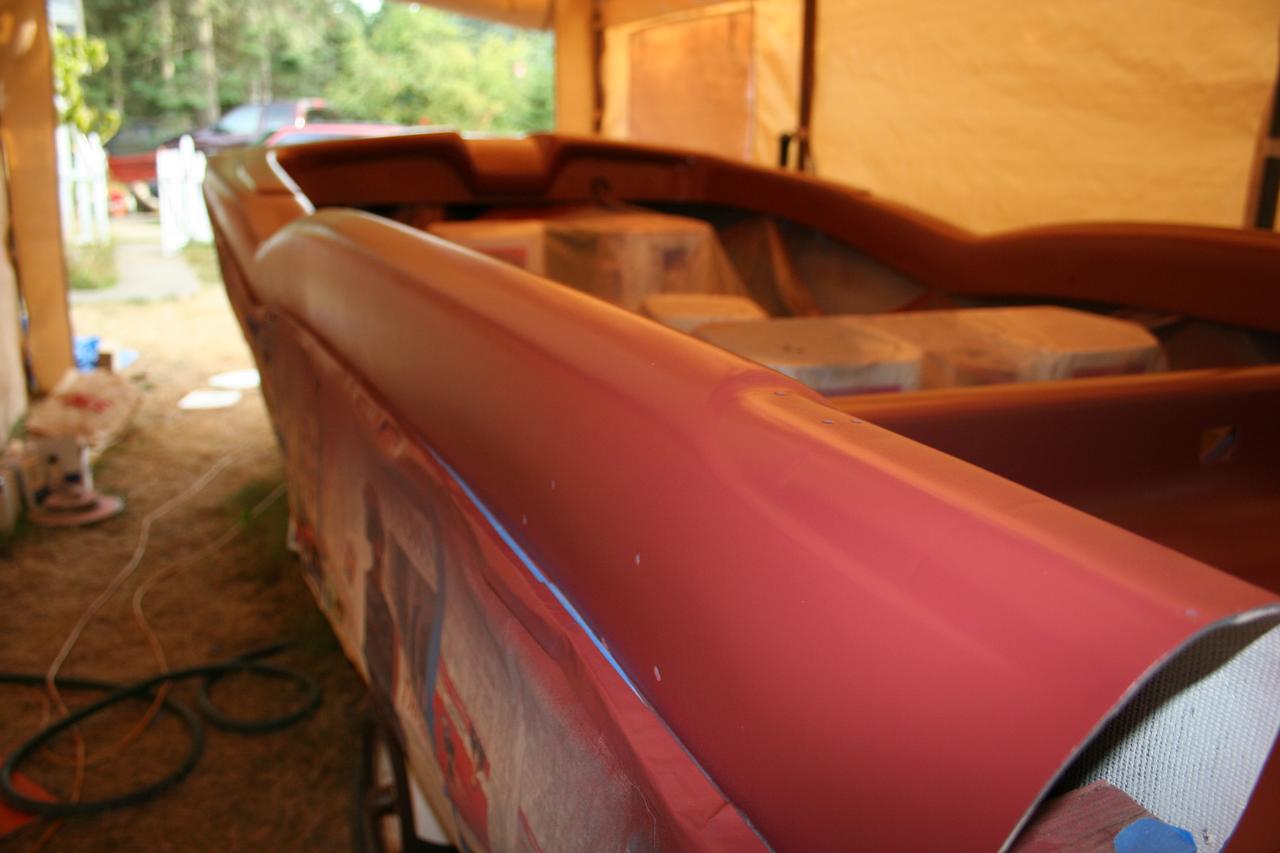
rxt_img_5125.jpg
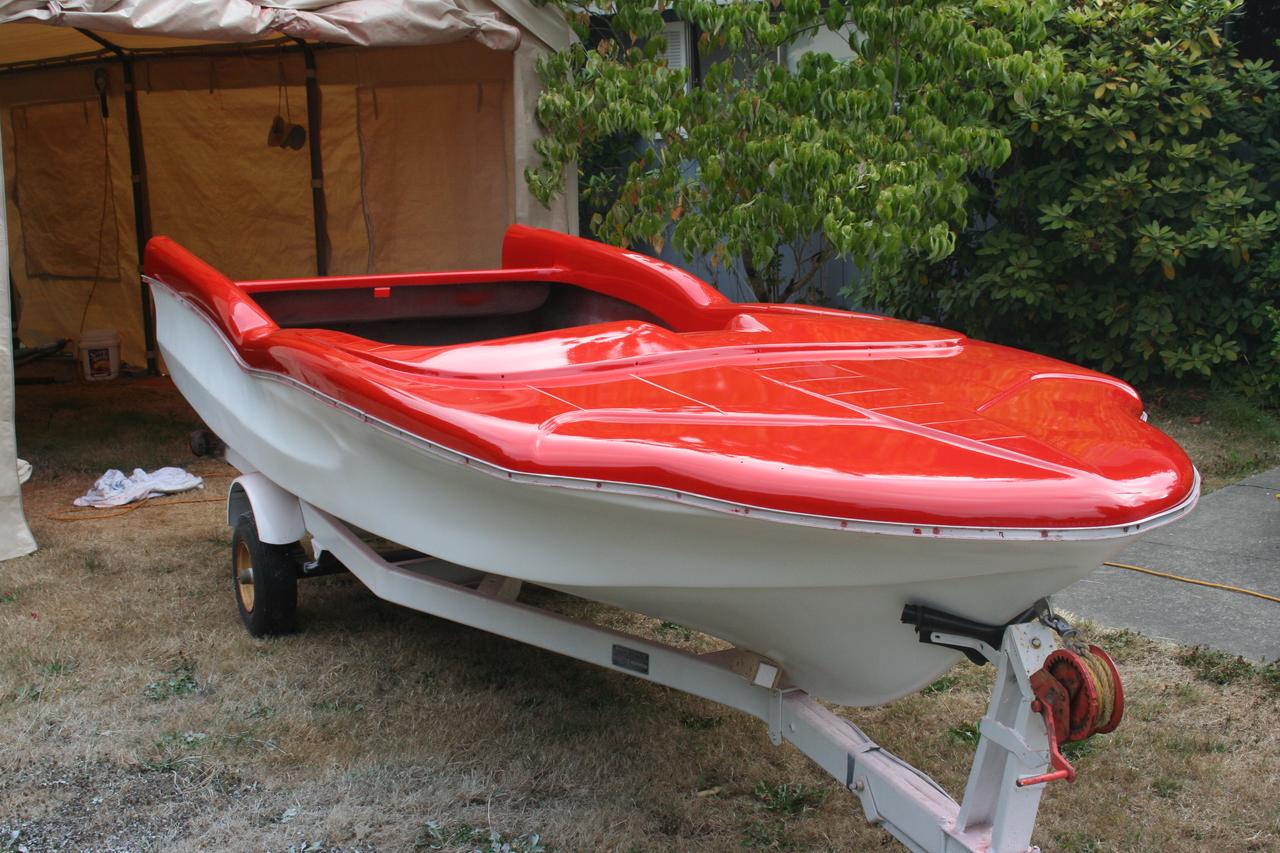
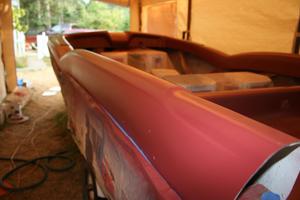
Final coat of paint!
rxt_img_5126.jpg
rxt_img_5129.jpg
rxt_img_5167.jpg
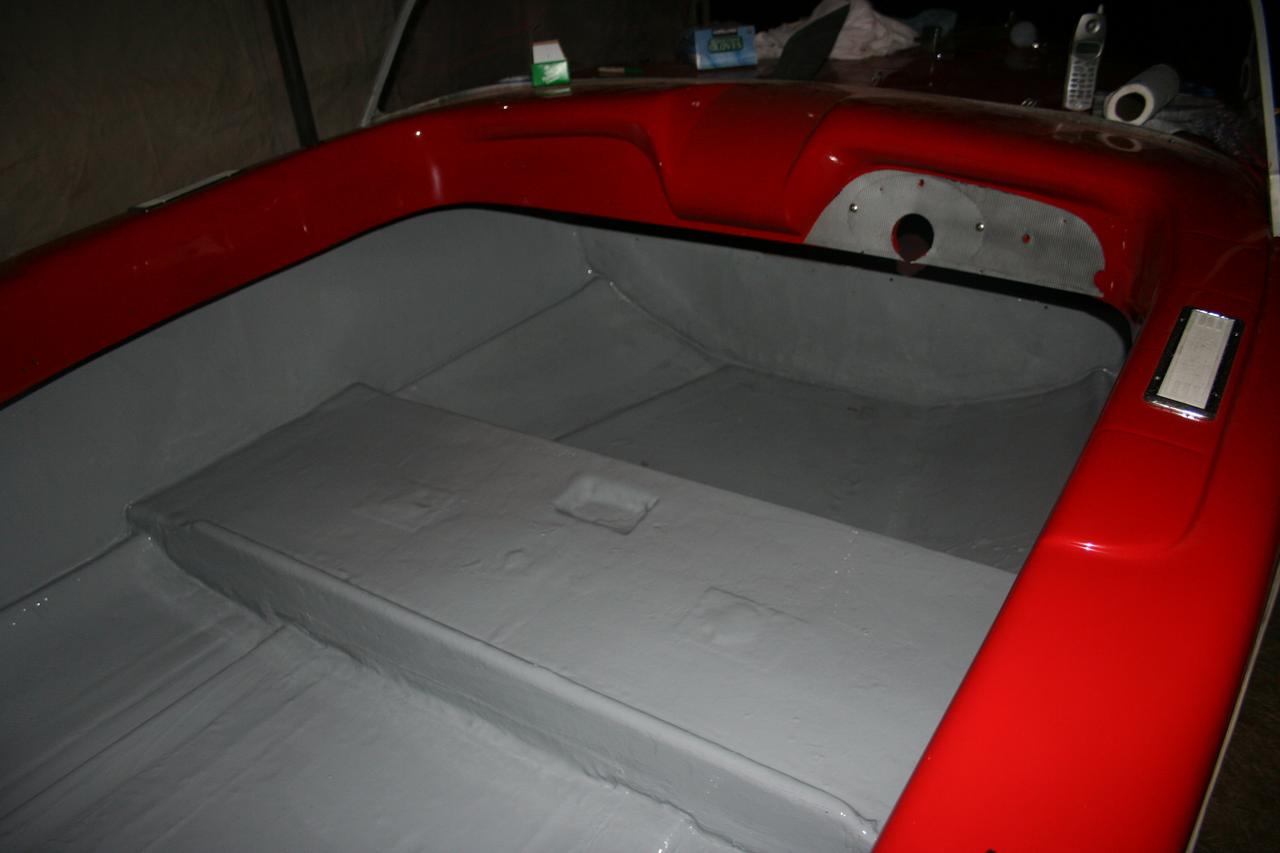
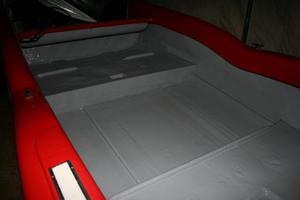
Painting the
interior with Rust-oleum "Epoxy Shield" two-part garage-floor paint.
This stuff is water based (so how can it be epoxy?), and took forever to
dry. It did eventually though, and covered well. I decided not to use
the decorative chips that came with the kit because I was afraid that I
wouldn't be able to distribute them evenly: A horizontal garage floor
is one thing; compound curves inside a boat hull is another.
rxt_img_5168.jpg

rxt_img_5169.jpg
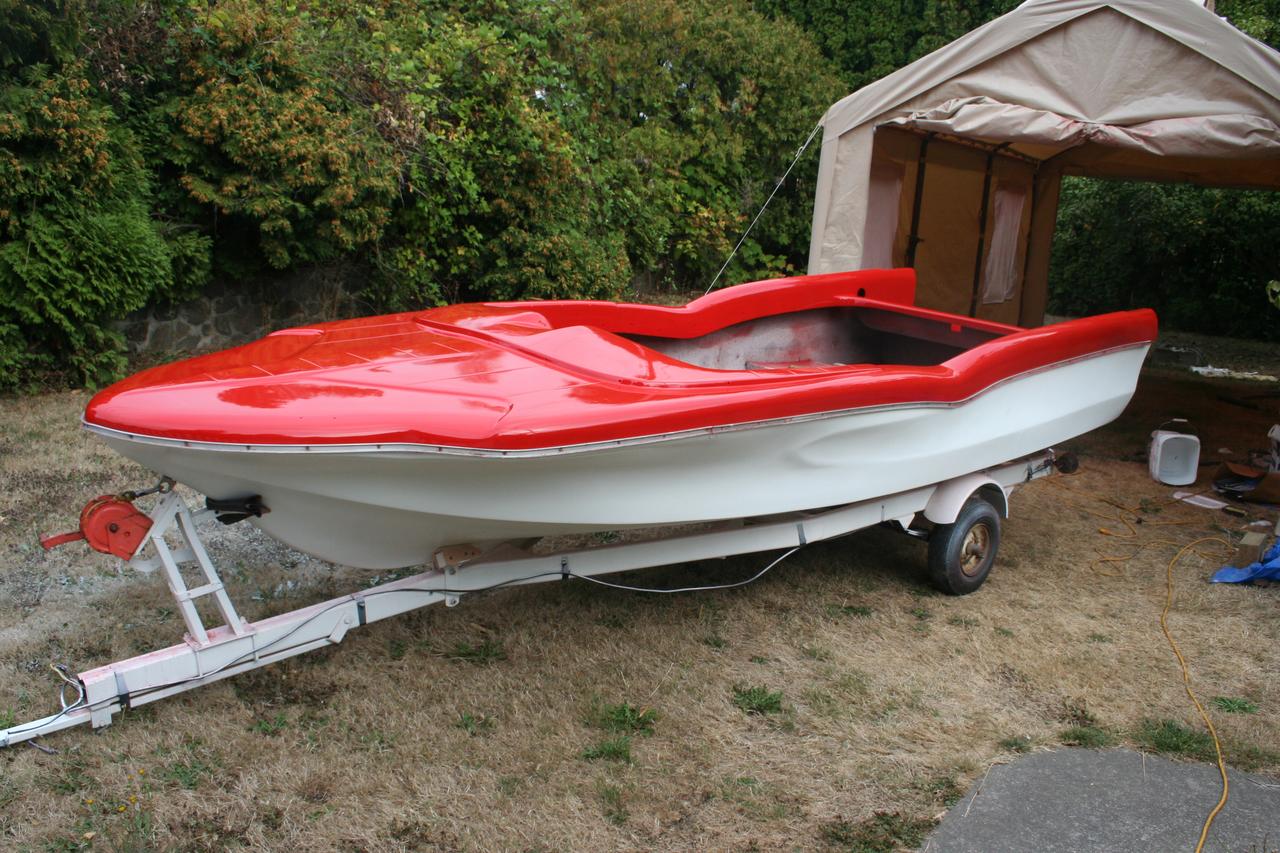
11/05/07
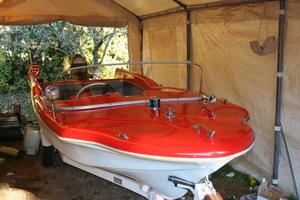
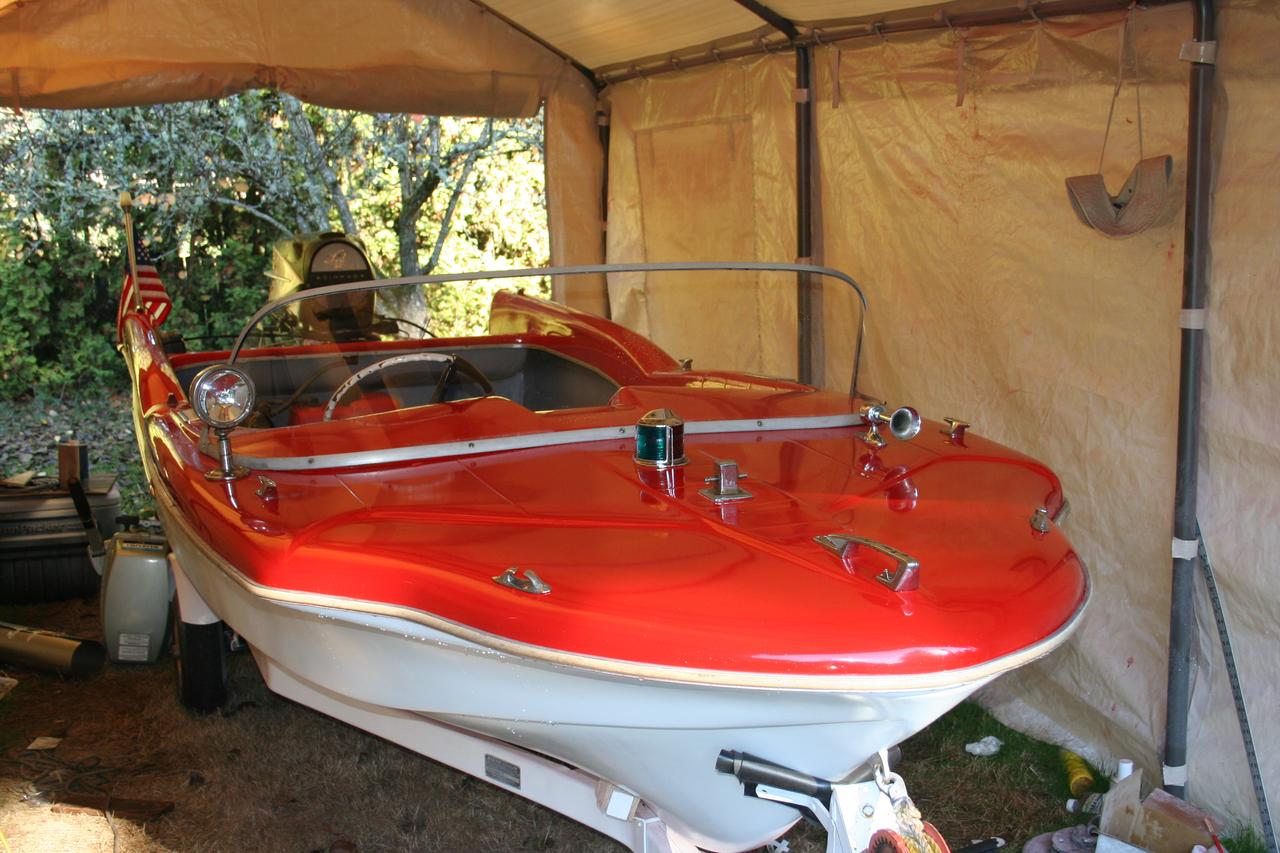
rxt_img_5424.jpg
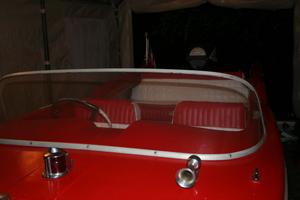
All the electrics, cleats, etc. in place, as well as the controls. The
new windshield, bent for me by Jerry at Spectrum Plastics, looks pretty
good!
rxt_img_5426.jpg
rxt_img_5428.jpg
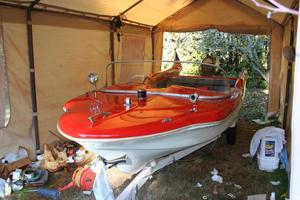
11/21/07
rxt_img_5441.jpg
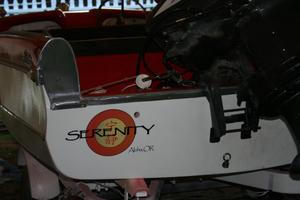
She has her
name! I just hope that I guessed right about the waterline, since I've
never seen the boat afloat.
rxt_img_5574.jpg
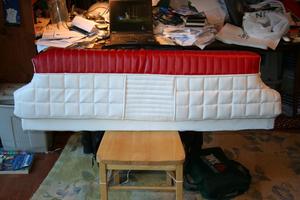
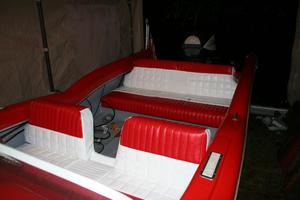
My first
excursion into upholstery work. Not as good as I'd like, but better
than I would've expected.

rxt_img_5579.jpg
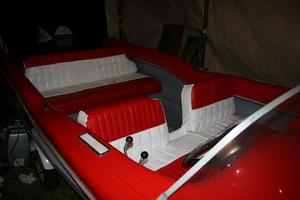
Test-fitting
rxt_img_5589.jpg
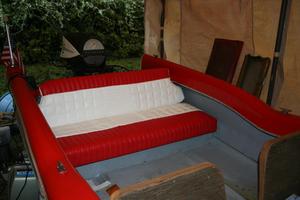
Not looking
half bad with the bottom in place!
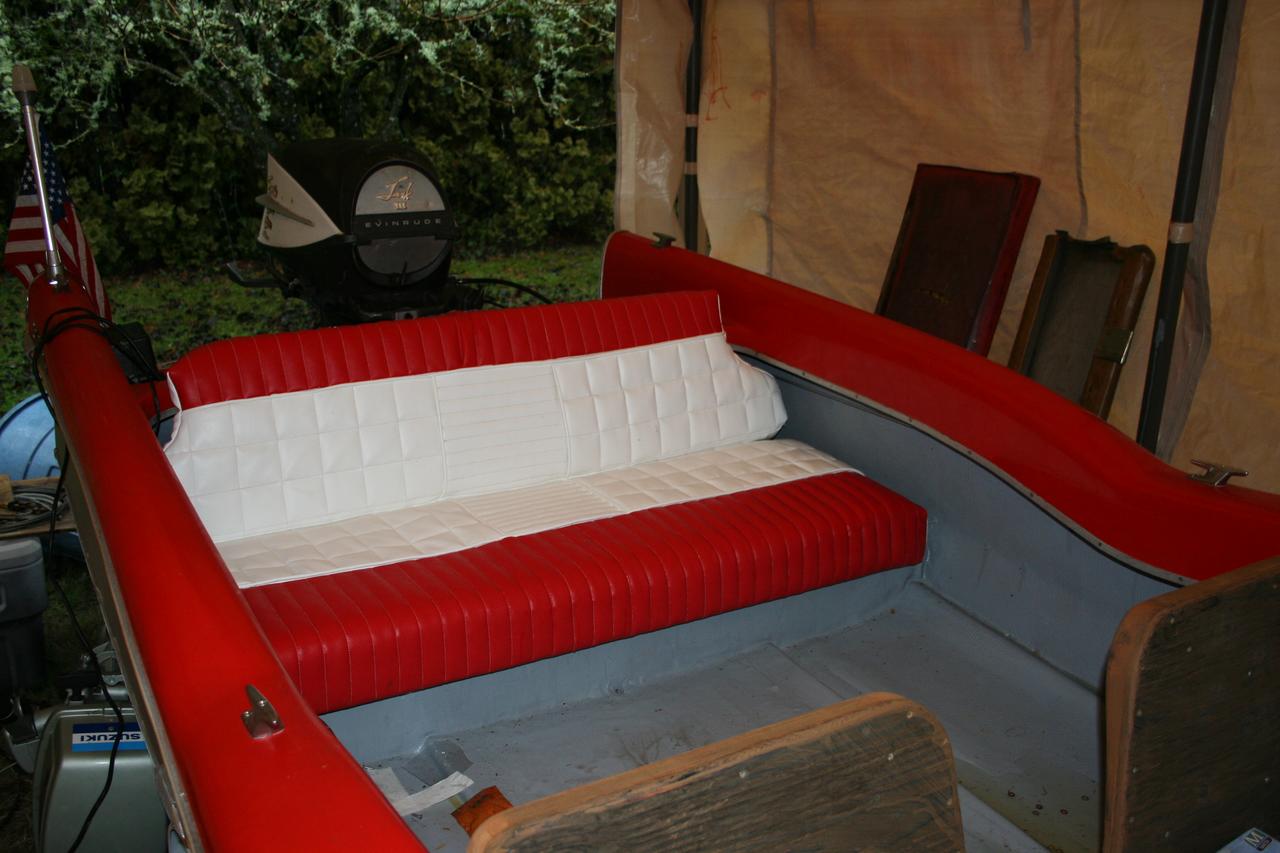
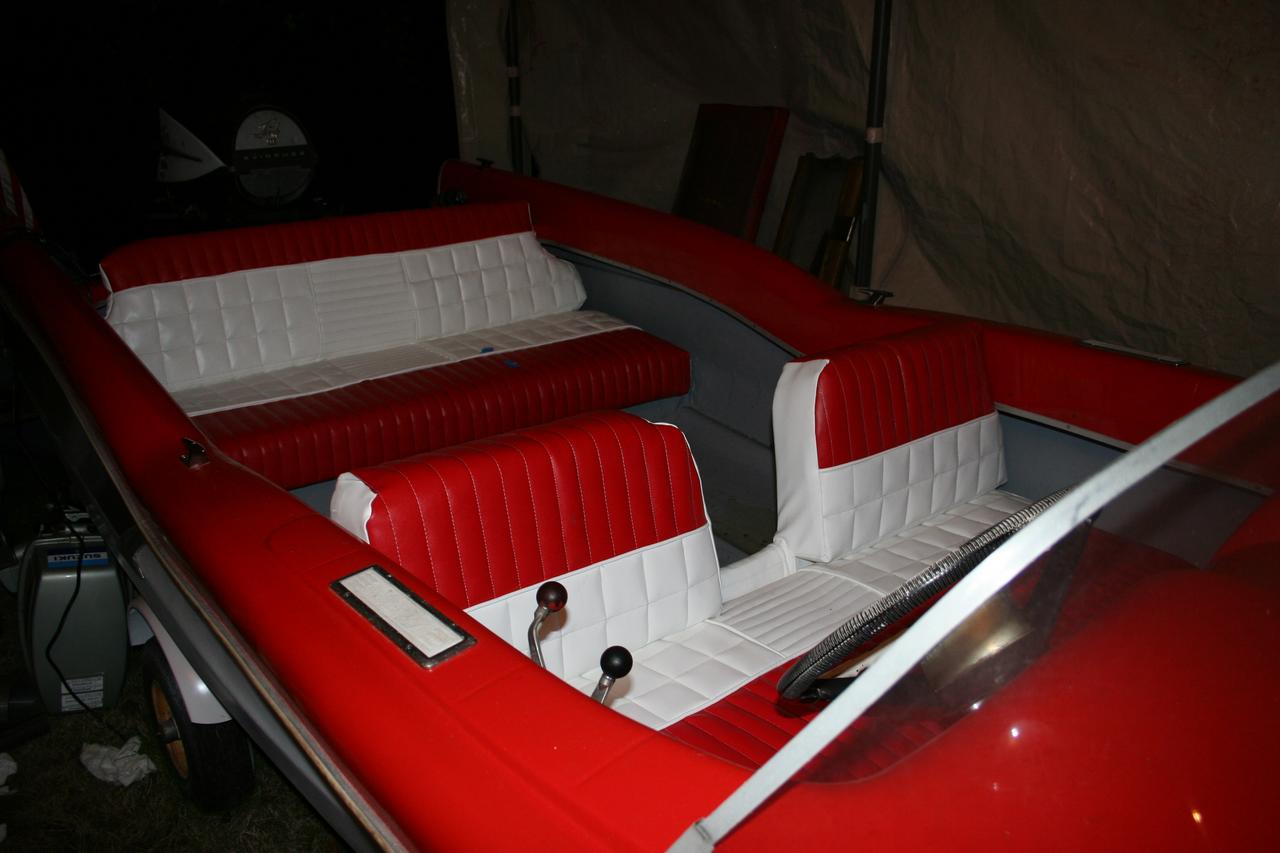
rxt_img_5599.jpg -- Completed
seats!!
rxt_img_5600.jpg
rxt_img_5601.jpg

rxt_img_5602.jpg
|